A good paint job starts before the first color. On a 3D-printed miniature, dust, uncured material and visible print lines can spoil adhesion or show through the finish. This guide takes you from a prepared print to a thin, even primer coat ready for POP ART acrylic paint.
What you need
- A fully finished and cleaned 3D print
- A soft brush or lint-free cloth for removing dust
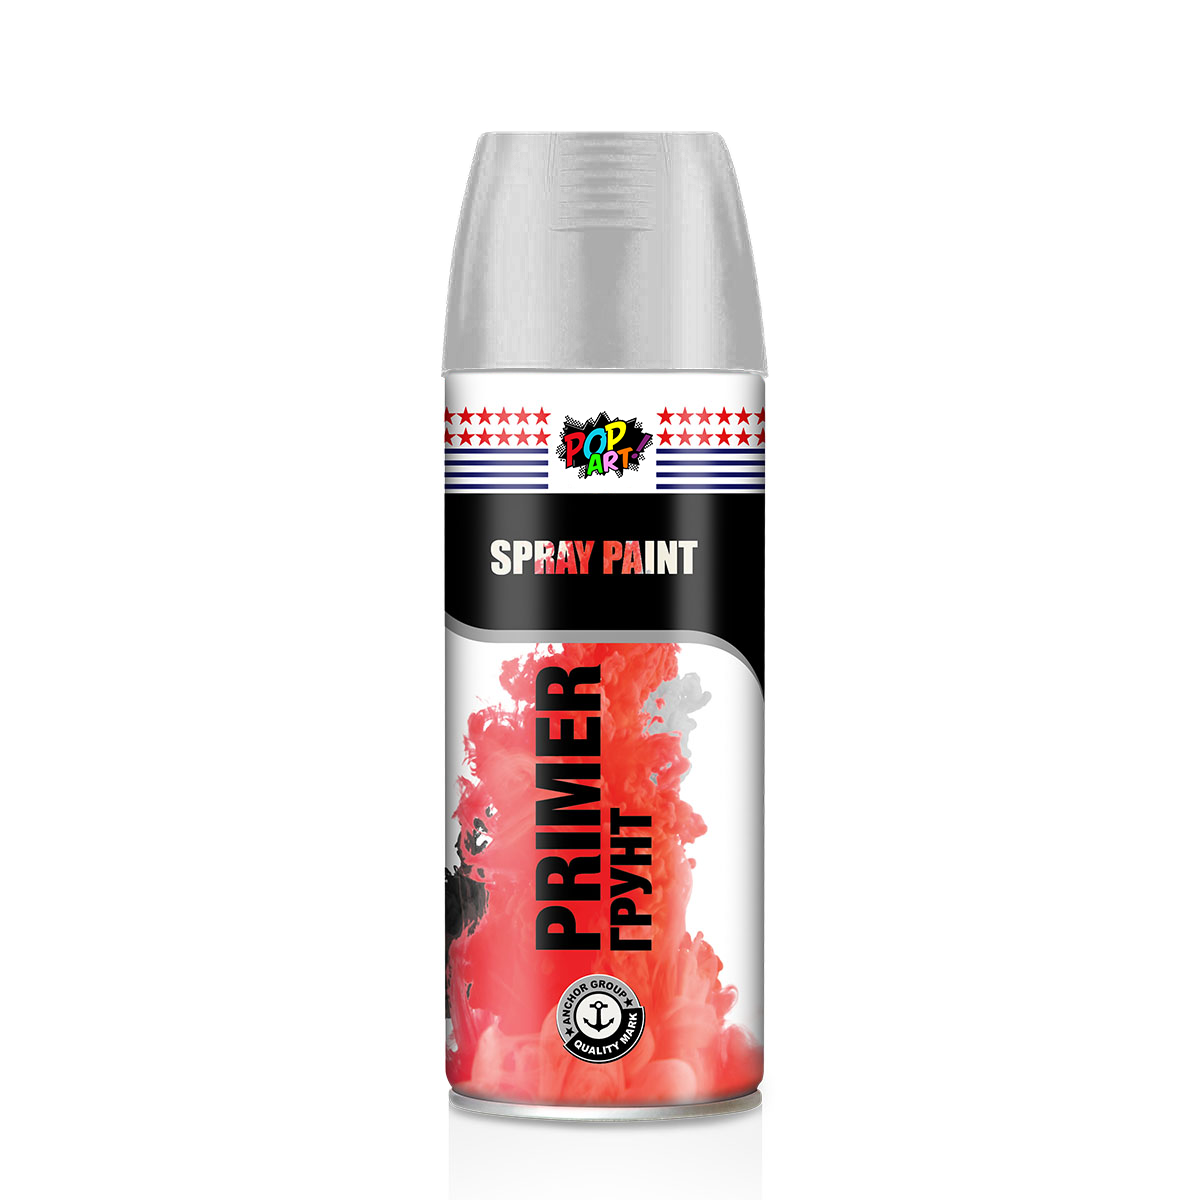
- A compatible primer: POP ART Professional Acrylic Surface Primer for controlled brush or airbrush work, or POP ART Multipurpose Matte Spray Primer 400ml for a spray application
- Gloves and suitable ventilation for your chosen preparation and primer method
- A spare printed test piece, if available
Prime a 3D-printed miniature in six steps
- Finish the print safely. Remove supports and smooth visible marks using the process appropriate to the print material. For resin prints, complete the manufacturer’s washing and curing steps before handling them as finished pieces; keep uncured resin off skin and out of drains. Avoid breathing sanding dust.
- Clean the surface. Brush away dust and residue. Let the model dry completely. Paint or primer can fail where powder, oil or moisture remains.
- Choose a color. Grey is a flexible base for most schemes. A light primer helps bright and transparent colors stay vivid; black makes recesses easier to keep dark. Test your planned colors on a spare piece because the base changes the final appearance.
- Test compatibility. Try the primer on a hidden area or spare print. Check that it bonds well and does not soften or distort your specific plastic or resin.
- Apply a light coat. With surface primer, use thin, controlled brush or airbrush passes according to its label. With spray primer, work outdoors or in a properly ventilated area, shake and spray as the can directs, keep the can moving and avoid flooding details. Do not try to cover every recess with one heavy pass.
- Inspect and let it cure. Look for missed spots, grainy texture or obscured detail. Add another thin coat only where needed after the first dries. Follow the product label for drying and curing before painting.
What to paint next
After the primer has cured, build thin color layers with POP ART Acrylic Model Paint or another shade suited to your project. For textured figures over a light base, the Flow Shade tutorial explains how to guide transparent color into recesses without heavy pooling.
Common problems
- Primer rubs off: Recheck cleaning, full curing and material compatibility; repeat a small test before coating the full model.
- Rough spray texture: Review the can’s recommended distance, weather conditions and shaking instructions. Test on scrap before another pass.
- Softened detail: Use less primer per coat and let each coat dry fully.
- Print lines still show: Primer reveals rather than reliably hides large layer lines. Correct the surface before adding more paint.
Cleanup and safety
Clean water-based primer from brushes and airbrushes promptly as its label directs; do not let it harden in the nozzle. For aerosol primer, follow all label precautions, keep the can away from heat and flames, and avoid breathing the spray. For sanding or resin preparation, use protection appropriate to the material and dispose of waste according to its instructions. Keep all products away from children.
 EN
EN  AR
AR