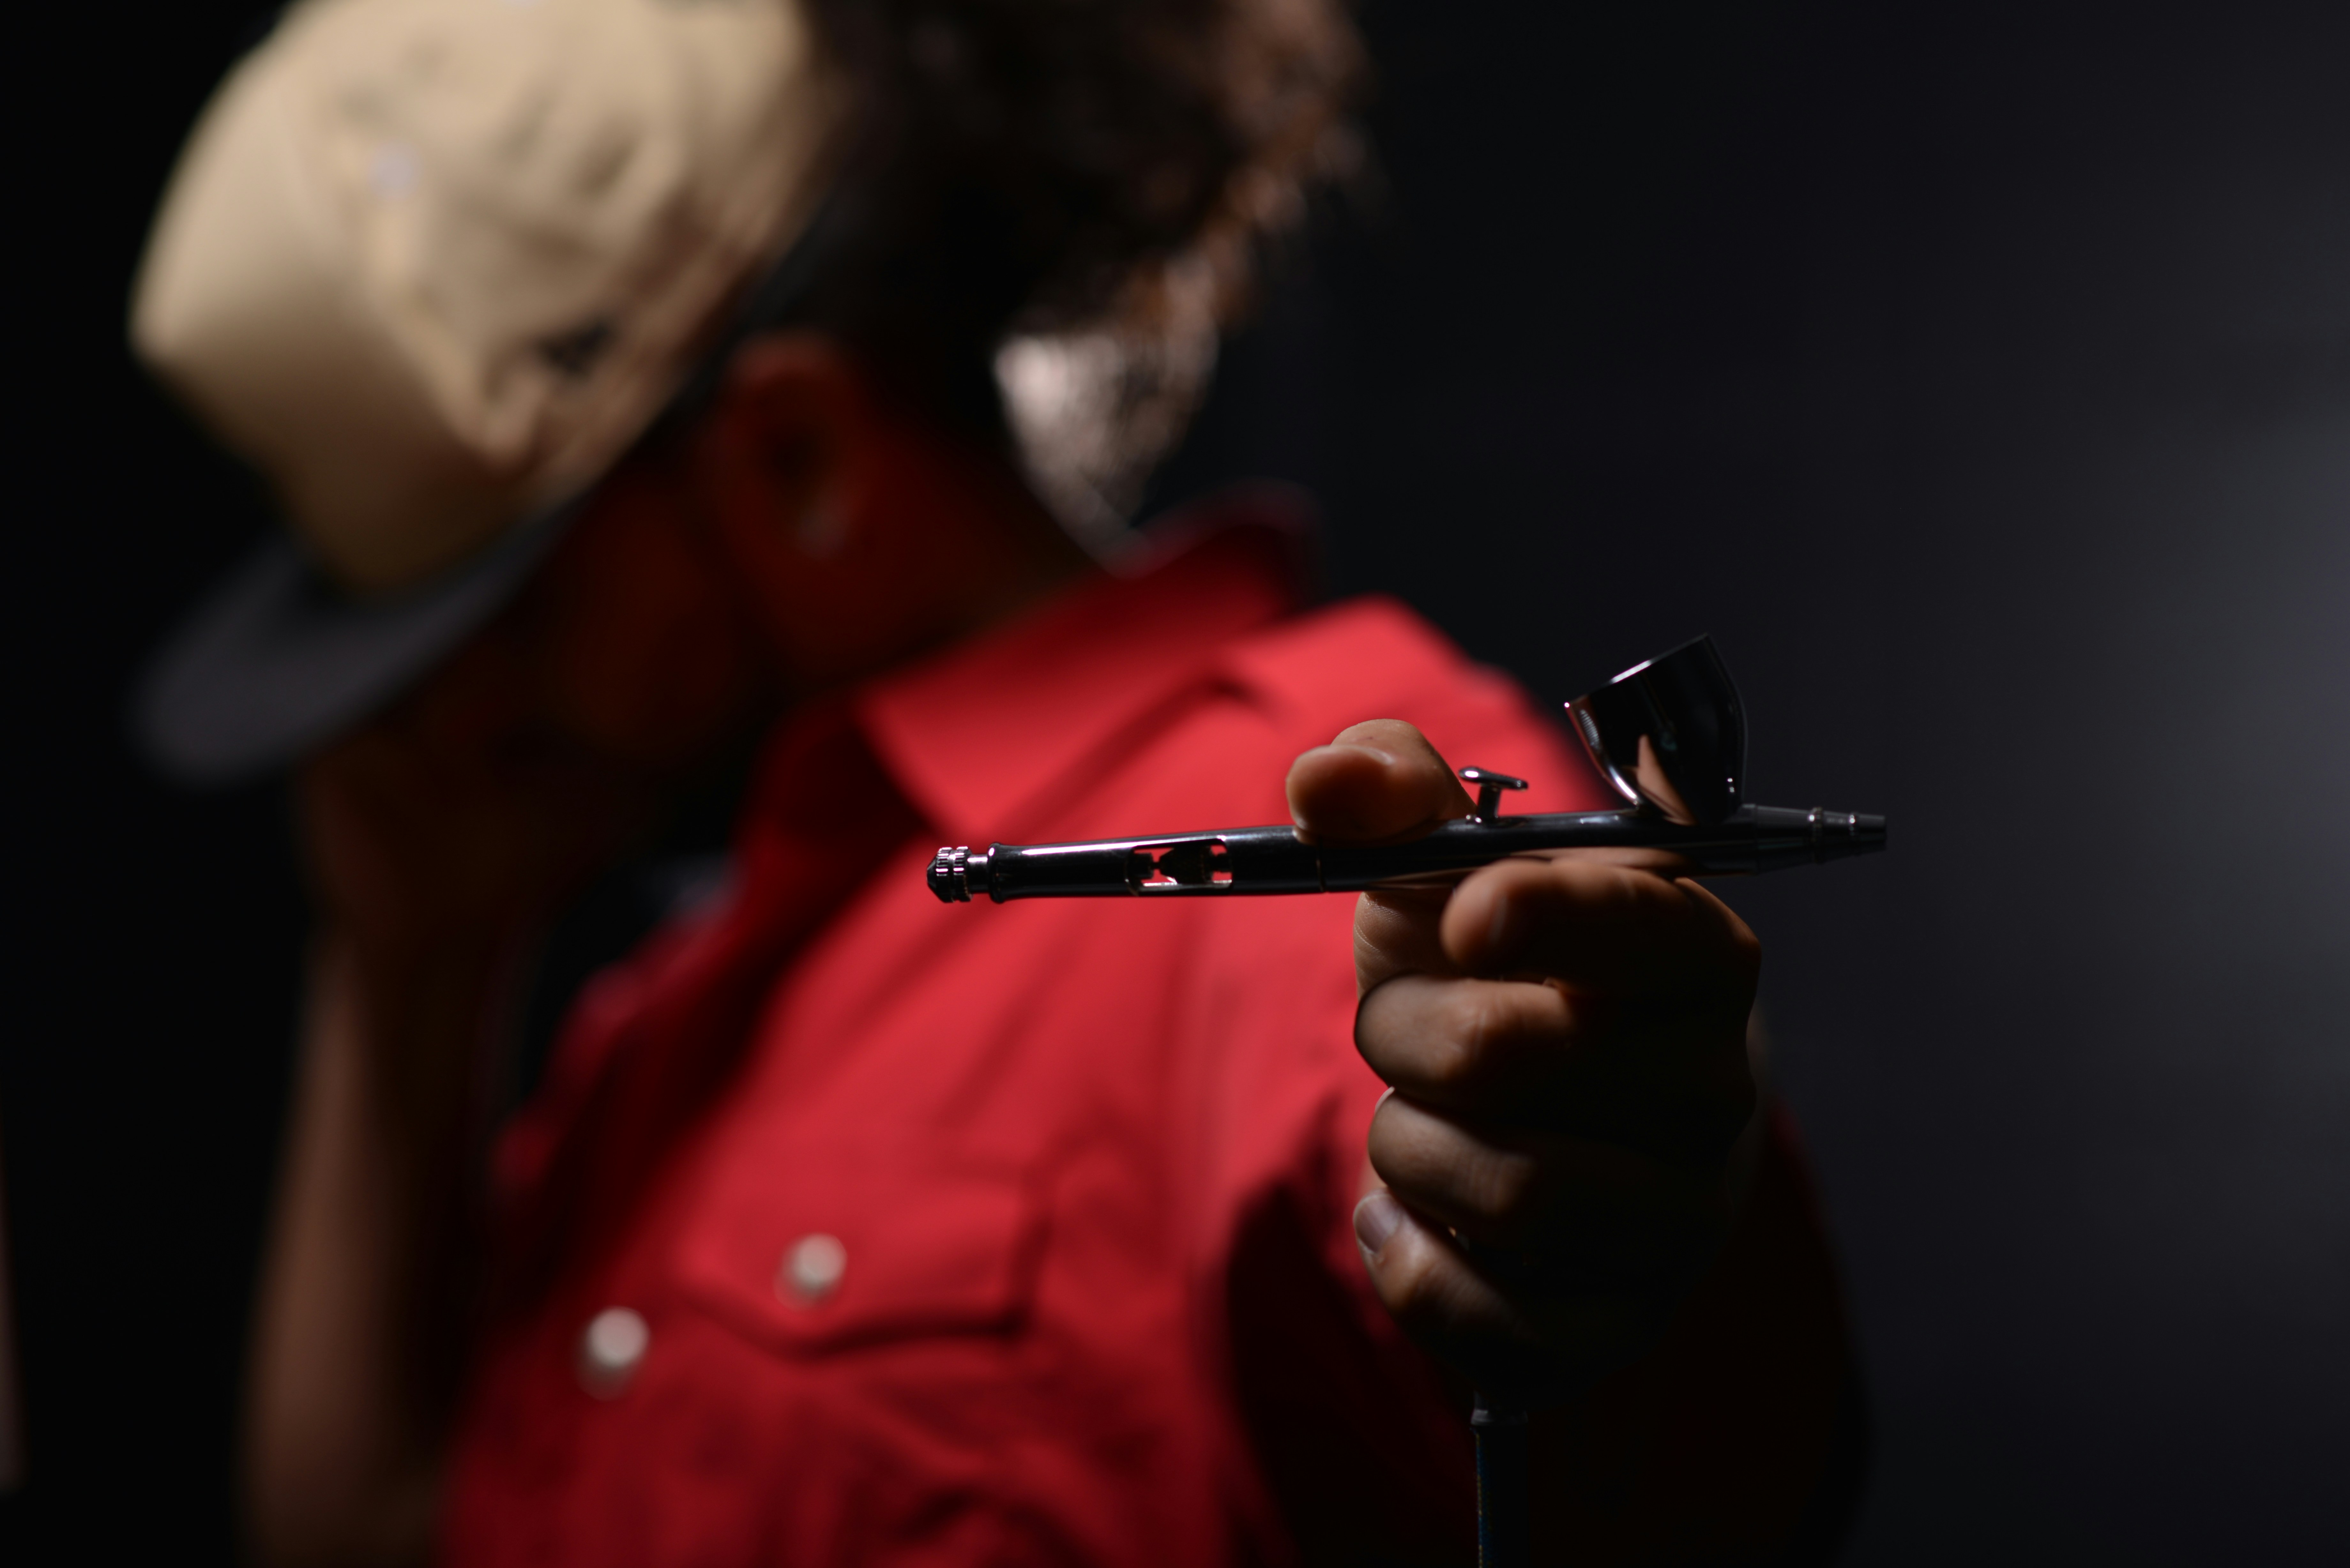
Airbrushing gives miniatures, scale models and painted 3D prints smooth base coats, soft shadows and controlled color transitions. The reliable way to learn is not to search for one perfect pressure or thinning ratio; it is to build a repeatable test-and-adjust workflow for your paint, airbrush, surface and room conditions.
Quick workflow: clean and prime the surface, mix the paint thoroughly, test the spray on a card, build color in light moving passes, then clean the airbrush before paint can dry inside it.
What you need for airbrush painting
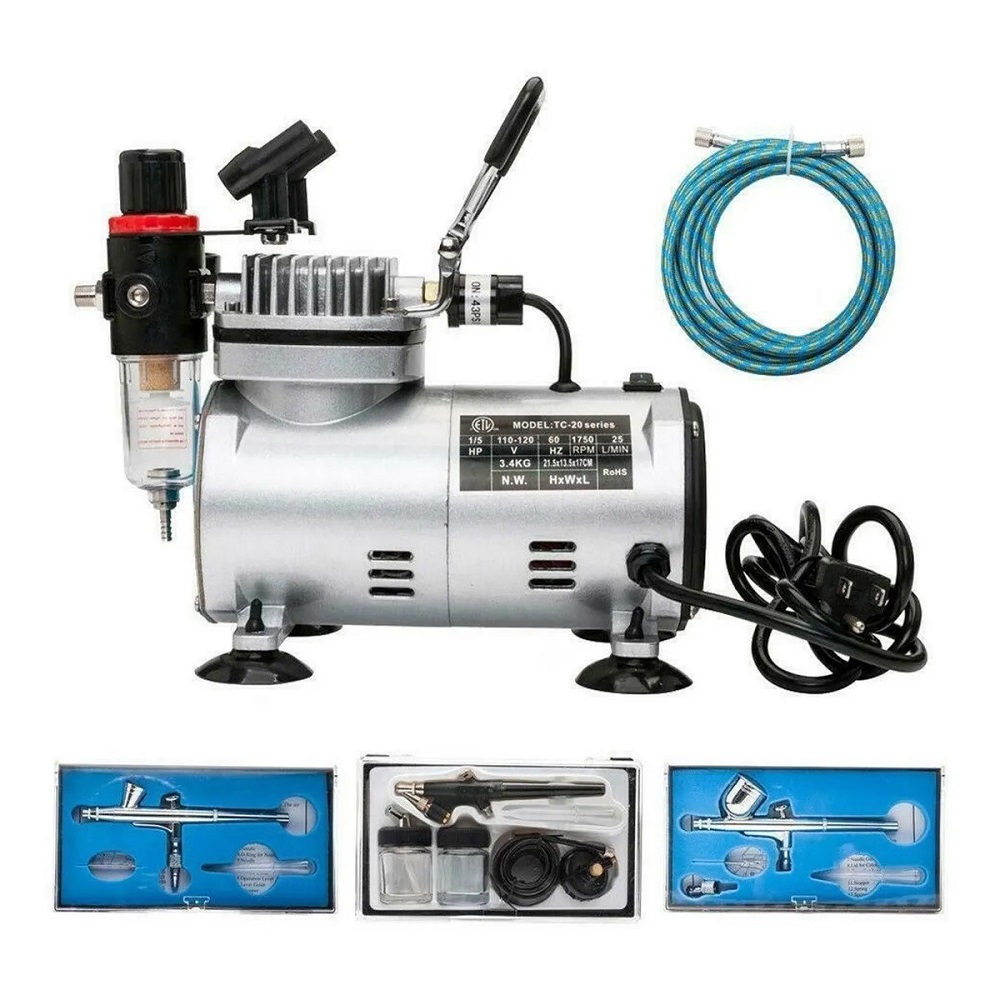
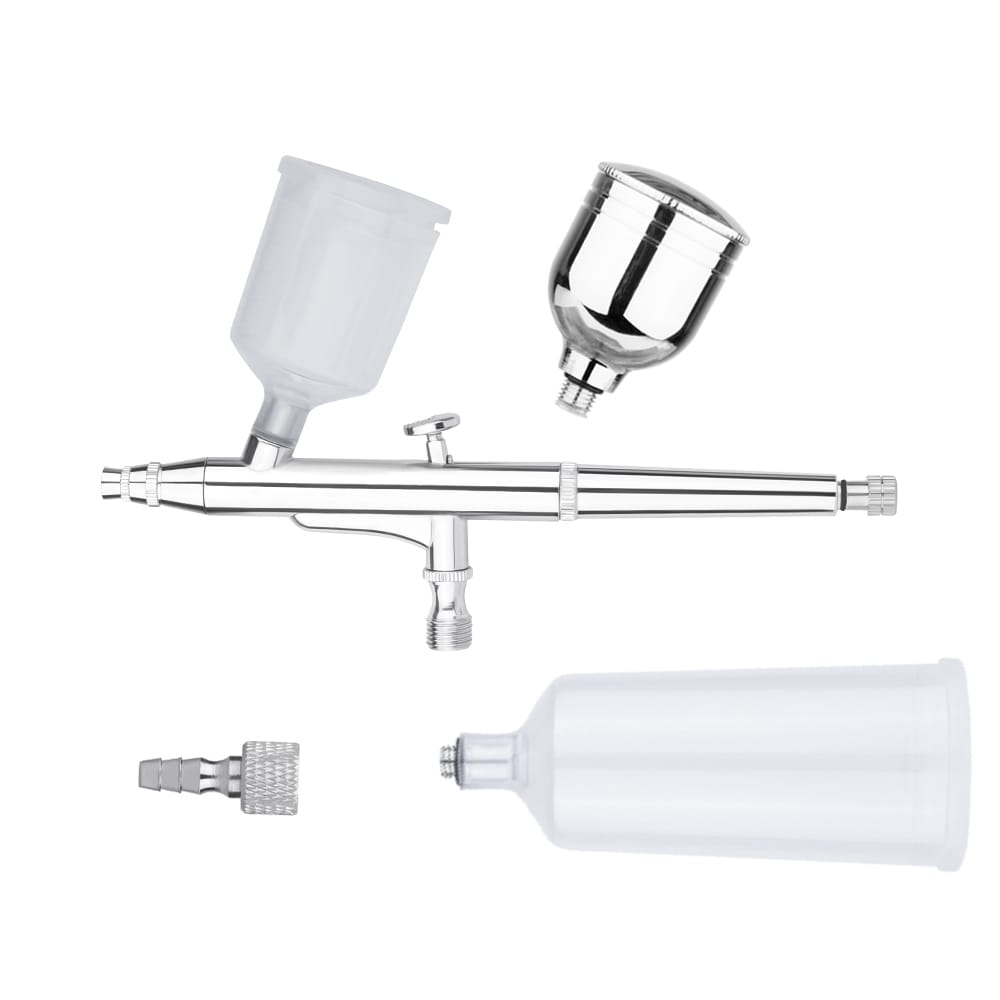
- An airbrush suited to the level of detail you want. Compare our airbrushes and airbrush kits.
- A compressor with controllable, steady airflow and a moisture trap. Browse airbrush compressors.
- Compatible paint, such as the shades in our airbrush paint colors range.
- The correct thinner or medium for the paint system. See thinners and mediums.
- Cleaner, soft cleaning tools, a test card and suitable masking materials.
Work with good ventilation and follow every product label. Use respiratory, eye and skin protection appropriate to the paint and cleaner you are spraying.
1. Prepare and prime the surface
Paint cannot compensate for dust, grease, release agent or an unsuitable surface. Clean the model according to the material manufacturer’s instructions, let it dry fully and handle it with clean hands. Remove visible seams or print supports before painting.
Apply a compatible coat from the primers range. A thin, even primer layer gives the color coat a consistent surface and makes imperfections easier to spot. Allow it to cure as directed before masking or adding paint.
2. Prepare the paint and make a test spray
Mix the paint thoroughly so pigment and medium are evenly distributed. If the product needs reduction, add a compatible thinner gradually. Paint behavior changes with pigment, nozzle size, pressure, temperature and humidity, so avoid assuming that one ratio will suit every color and setup.
Use a spare card, plastic spoon or test piece before spraying the model. Check three things:
- Dots: the spray should start and stop predictably without large spatters.
- Lines: paint should flow consistently as you move the airbrush.
- Broad passes: the coat should look even, without graininess, flooding or runs.
Change one variable at a time—paint reduction, airflow, distance or paint flow—then test again. In warm or dry conditions, paint may dry at the needle tip more quickly, so inspect the tip and adjust the workflow rather than forcing more paint through a partial clog.
3. Control distance, movement and paint flow
Keep the airbrush moving before you introduce paint, overlap each pass slightly and release the paint before stopping the movement. This reduces dark start-and-stop marks. Spray more perpendicular to broad surfaces for even coverage; use deliberate angles only when creating shadows or directional highlights.
Closer distances make a smaller, wetter pattern and demand finer trigger control. Greater distances make a wider, drier pattern. Begin on the test card, find a stable distance, and build several light layers. A heavy wet pass can pool around details, produce runs and slow curing.
4. Build color in useful stages
Base coat
Apply a consistent midtone over the primed area. Do not try to make the first pass fully opaque. Let the surface become touch-dry between light coats according to the paint directions.
Shadows
Spray a darker related color from below or into recesses. Keep the effect subtle at first; it is easier to deepen a shadow than to remove an oversized one.
Highlights
Use a lighter tone from above to reinforce the direction of light. Narrow the spray pattern and reduce paint flow as the target area becomes smaller.
Tints and transitions
Transparent, controlled layers can connect neighboring tones. Test the mixture first and stop regularly to judge the dry color, which may differ from the wet appearance.
If you prefer coordinated groups of colors, compare our airbrush paint sets.
5. Diagnose common airbrush problems
Spatter or an interrupted spray
Pause and inspect for dried paint on the needle, thick paint, a partial clog, low or unstable airflow, or a loose connection. Clean only as directed by the airbrush manufacturer and retest before returning to the model.
Spidering or paint that races across the surface
The surface is receiving more wet paint than it can hold. Reduce paint flow, move faster, increase the distance slightly or review the balance between reduction and airflow.
A rough or powdery finish
Paint may be drying before it reaches the surface. Review distance, airflow, paint consistency and room conditions. Test each adjustment rather than changing everything at once.
Poor adhesion
Check surface preparation, primer compatibility, curing time and coat thickness. Do not mask over paint that has not cured fully.
6. Mask without damaging earlier layers
For hard edges, use a suitable low-tack tape or stencil and spray away from the edge where possible. For irregular shapes and protected highlights, liquid masking fluid can be useful on compatible surfaces. Always test the masking method first, especially on delicate paint, paper or resin.
7. Clean the airbrush promptly
Empty excess paint safely, rinse the cup with the cleaner recommended for that paint, and flush until the output is clear. Use products from the brush and airbrush cleaners range where compatible. Follow the airbrush maker’s instructions before removing the needle or nozzle; these parts are easy to bend or damage. Do not soak seals or use aggressive solvent unless the manufacturer explicitly permits it.
8. Protect the finished model
Let all paint cure fully before applying a clear finish. Choose an appropriate sheen from our acrylic varnishes and clear coats, test compatibility and build protection with controlled coats. Gloss can deepen color and support some finishing techniques, while matte reduces reflections.
Airbrush painting checklist
- Clean, dry and prime the model.
- Mix the paint and prepare the correct compatible thinner.
- Test dots, lines and broad passes away from the project.
- Change one setting at a time.
- Build color with light, overlapping coats.
- Allow proper drying and curing time.
- Clean the airbrush immediately after the session.
Prepared by the POP ART product team for hobby painters in Egypt. Always follow the instructions supplied with your paint, airbrush, compressor and protective equipment.
 AR
AR  EN
EN