Want shadows and highlights to read clearly without painting every recess by hand? POP ART Flow Shade is a transparent, brush-applied acrylic designed to settle into sculpted details over a light base. This guide shows you how to control the paint on a miniature, model, or primed 3D print—and what to do when it pools.
What you need
A clean miniature or model with a fully cured white, off-white, or light-grey primer or base coat
A medium brush with a good point, plus a clean spare brush
Before you start: Choose a test area underneath the model. Transparent color changes noticeably with the base color and surface texture; a dark base will not give the same bright contrast as a light one.
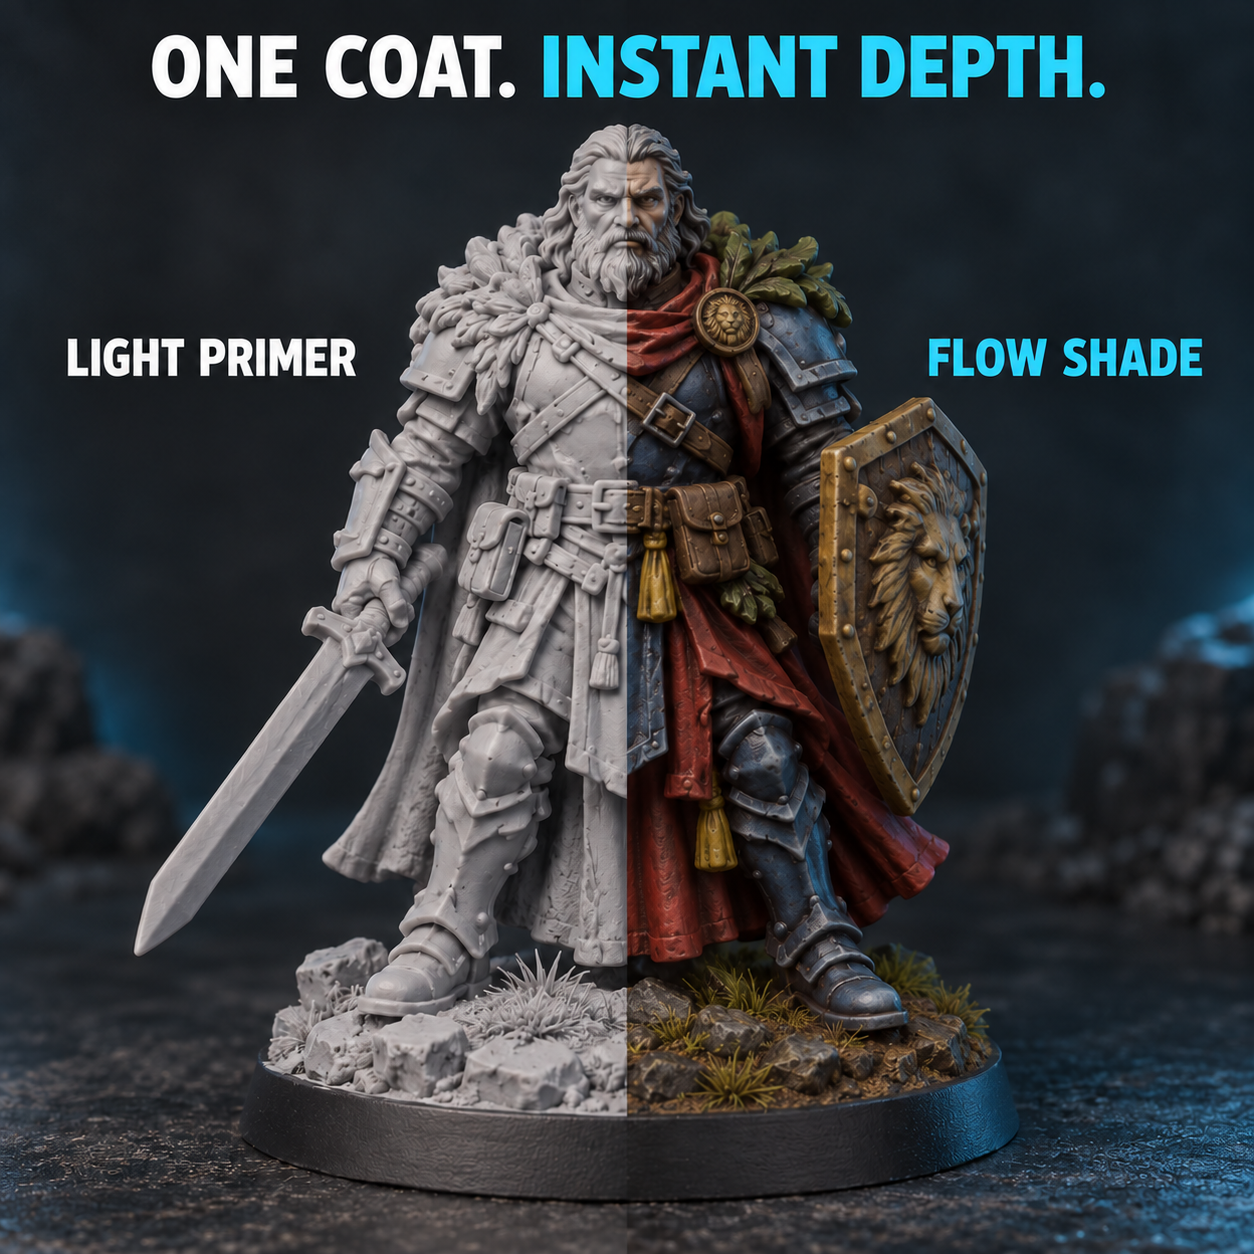
Before and after: a light base and one controlled Flow Shade coat help sculpted details stand out.
Apply Flow Shade in six steps
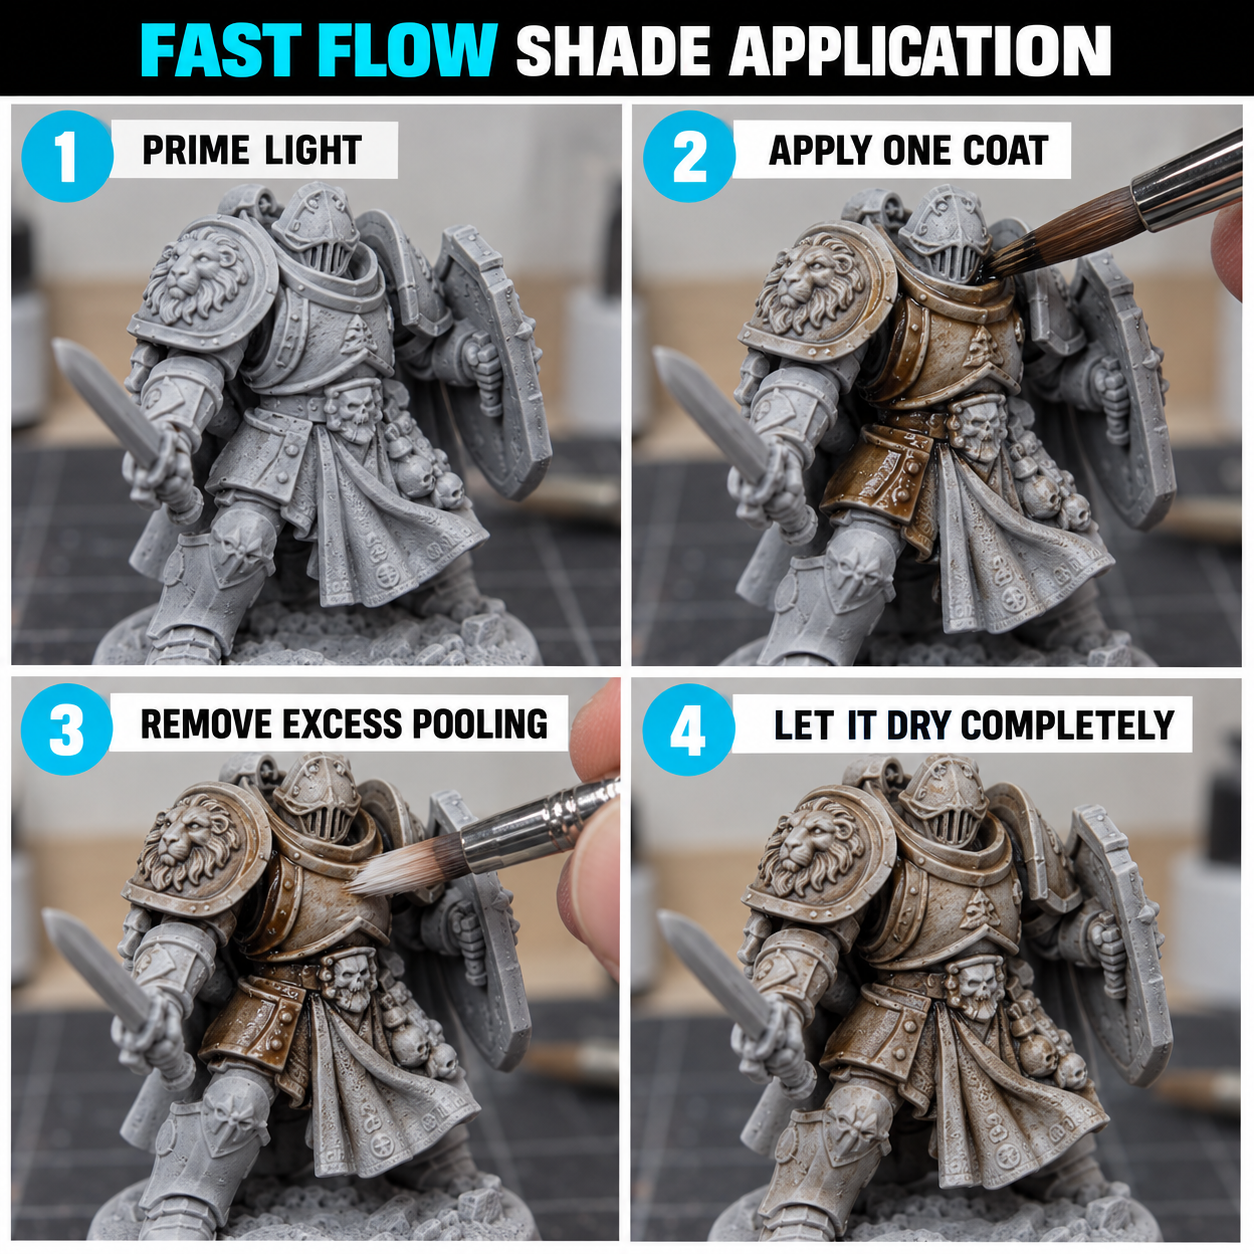
Prepare the surface. Remove dust and loose residue. Let primer or your light base coat cure fully according to its own instructions. For a 3D print, clean and prepare the print as its material requires before priming.
Shake the bottle. Dispense a small amount onto a palette. Start with the paint as supplied; test any adjustment on a spare piece before working on the model.
Work one section at a time. Load the brush enough to cover an armor panel, fold of cloth, or other small area. Move the color across the surface and guide it into the sculpted recesses.
Control the pooling. Watch flat areas and the lowest points. If a large puddle forms, touch it with the tip of a clean, slightly damp brush and wipe the excess away. Avoid scrubbing areas that have begun to set.
Leave the coat alone to dry. Finish the section, then let it dry completely before touching it again or adding another layer. Repeatedly brushing partly dry paint can leave tide marks and uneven patches.
Refine the details. Once dry, assess it in good light. Add another controlled coat where you want a deeper shadow, or restore a raised edge with an appropriate lighter paint. Test before applying any final varnish, and follow that varnish’s label for curing and ventilation.
POP ART application visual: work in sections, guide color into recesses and remove unwanted pooling.
Fix common Flow Shade problems
Dark blotches on a flat panel: Too much paint collected in one place. Wick away excess while wet; on the next section use a smaller load and move the model to inspect hidden puddles.
Weak contrast: The base may be too dark, or the surface too smooth to produce deep recesses. Test over a lighter base and use a second coat only after the first has dried.
Streaks or tide marks: Avoid going back over an area as it dries. Cover smaller sections and complete each one in a single pass where possible.
Lost fine detail: Check for heavy primer or accumulated paint layers. Use thin, controlled application and remove wet pools before they dry.
Choose your next project
Use one shade for a quick test on a textured cloak or armor plate, then move to the 12-color set for a broader starter palette. The 36-color set offers more choices for varied projects. For brush handling fundamentals, see our brush-control tutorial.
Cleanup and safe handling
Rinse brushes with water promptly after using the water-based acrylic; reshape the bristles and let them dry. Keep paint away from food and drinks, avoid getting it in eyes or mouth, and follow the product label and the primer or varnish manufacturer’s safety guidance. If sanding a print or spraying a separate primer or varnish, use the ventilation and protective equipment specified for that process.
Have a finished miniature you would like POP ART to feature? Visit the tutorials and community hub to share your work for review. Customer submissions are shown only after approval.
Miniature painting becomes easier when the brush and airbrush are treated as complementary tools. An airbrush is efficient for smooth primer, base color and broad transitions; a pointed brush gives direct control over edges, faces, textures and small corrections. A strong workflow uses each tool where it saves time or improves control.
Quick workflow: prepare and prime the model, establish clean base colors, place shadows, rebuild the midtones, add highlights and details, correct the edges, then protect the fully cured paint with a compatible varnish.
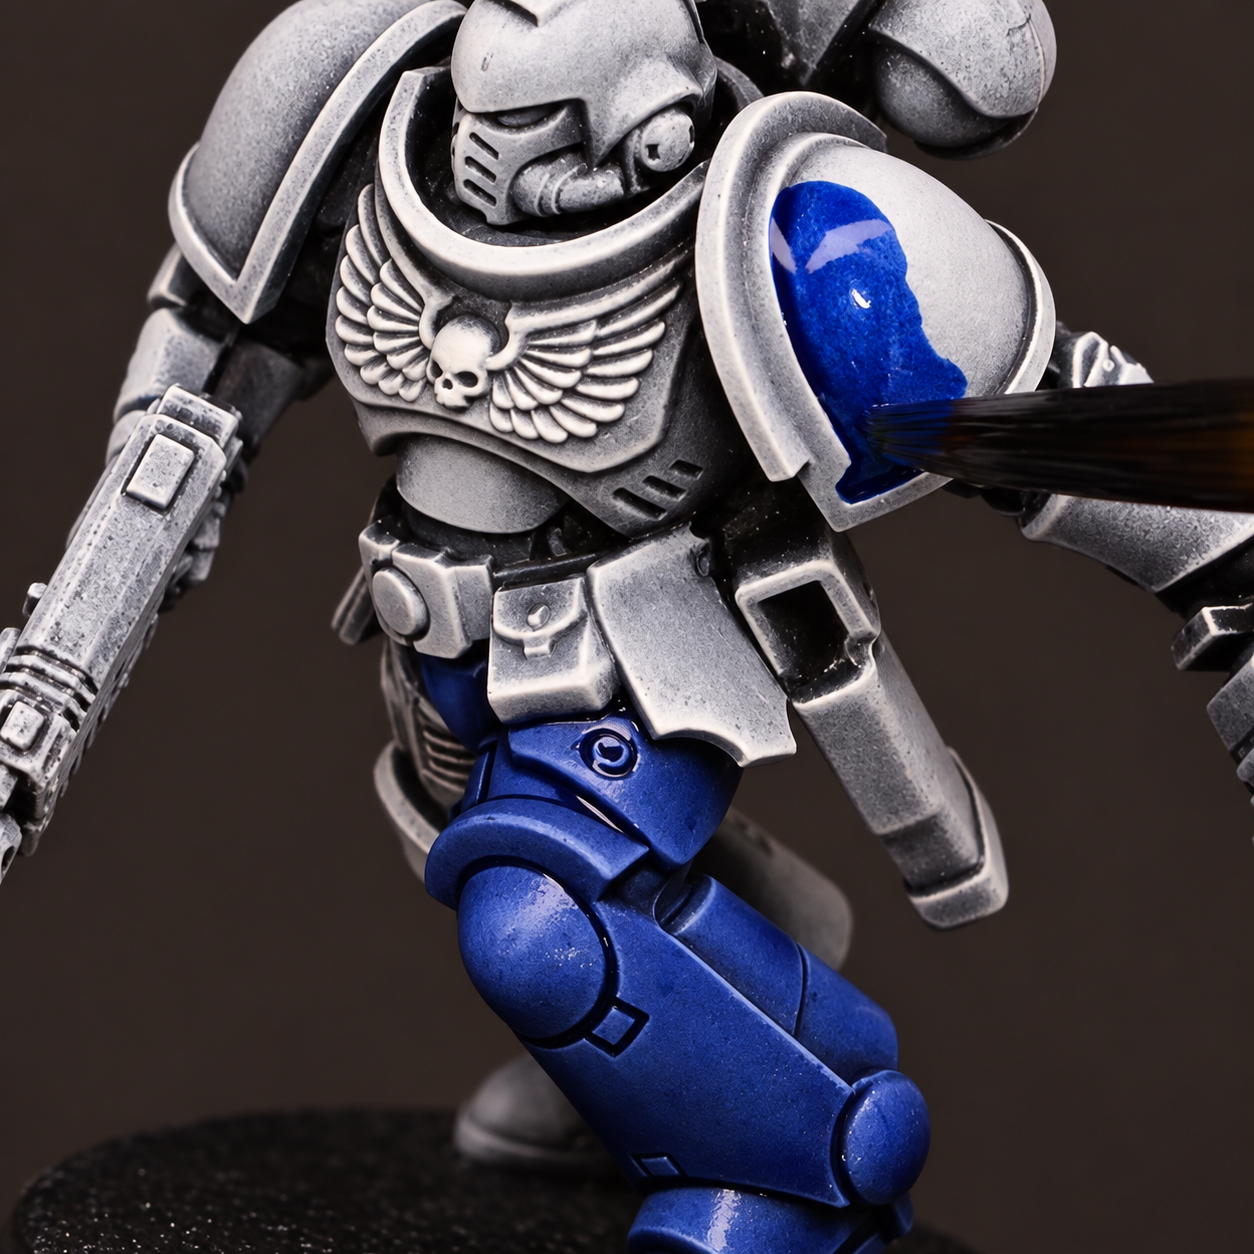
A small armor panel is a useful place to practice tidy base color, edge control and highlights.
Start with a clean, readable surface
Remove mold lines, support marks and dust before painting. Clean the material according to the model maker’s instructions and allow it to dry completely. A suitable product from the primers range creates an even surface and makes small defects visible before color is added.
Choose a primer color that supports the result you want. A darker primer can help preserve deep shadows; a lighter primer makes bright colors easier to build; a neutral tone offers a balanced starting point. Coverage matters more than making the primer layer heavy, so protect the sculpted detail with thin coats.
Choose the right paint and brush
For general miniature work, a brush with a good point and enough body to hold paint is often more useful than the smallest brush available. Reserve very small brushes for the details that genuinely need them. Compare our miniature and detail paint brushes and keep separate older brushes for drybrushing or rough texture work.
Mix acrylic paint thoroughly and use a palette to control its consistency. Add a compatible thinner or medium gradually when needed. The aim is paint that leaves a smooth layer and responds predictably to the brush, not paint thinned to an arbitrary universal ratio.
Build brush control before chasing tiny details
Load only the front portion of the bristles and remove excess paint on the palette. Paint pushed into the ferrule can dry there, spread the point and shorten the brush’s useful life. Brace both hands together or rest the painting hand on a stable support, then rotate the miniature so each stroke follows a comfortable direction.
Practice three simple movements on a spare surface:
Lines: pull the brush toward you while keeping pressure consistent.
Dots: touch the point down without dragging it sideways.
Edges: use the side of the bristles lightly across a raised corner.
Select colors from the model paint colors range or begin with a coordinated model paint set. Apply the first layer without repeatedly brushing over paint that has begun to dry. Let it settle, then add another thin coat where coverage is incomplete.
With a brush, use the largest controlled brush that fits the area. With an airbrush, test the spray first and build color in light passes. Keep the boundaries tidy, but do not spend too long correcting every edge at this stage; later shadow and highlight steps may cover small mistakes.
Create shadows without losing the midtone
Shadows explain the form of the miniature. They can be added with a darker layer, a controlled glaze, a targeted wash or a carefully directed airbrush pass. Whatever method you choose, place the deepest value in recesses and reduce its strength as it approaches exposed surfaces.
A wash should not be allowed to flood every flat area. Guide it into the recesses and remove excess while it is workable. For a glaze, use a transparent mixture, unload the brush, and apply several controlled layers. Let each layer dry so you can judge the transition before adding more.
Rebuild midtones and place highlights
After shading, reapply the original midtone to raised areas that became too dark. Then mix or choose a lighter color for the surfaces facing the imagined light source. Broad highlights define the volume first; the smallest edge and point highlights come last.
Drybrushing is useful for fur, stone, chainmail, textured bases and fast readable edges. Remove most paint from a dedicated brush, then move it lightly across the raised texture. Too much paint produces chalky streaks rather than controlled highlights. Follow the step-by-step drybrushing tutorial for loading and pressure practice.
Use an airbrush for smooth transitions
An airbrush can establish a broad light-to-dark map before brush details are added. Spray a midtone, add a darker color from below or into recesses, then place a lighter tone from above. Keep the effect restrained and return with a brush to sharpen focal details.
Browse airbrush paint colors and use only compatible thinners or mediums. Because nozzle size, airflow, paint and room conditions interact, test on a card and change one variable at a time. Use appropriate ventilation and protective equipment as directed on the labels.
Plan an efficient brush-and-airbrush sequence
Airbrush: primer, broad base color and initial light placement.
Brush: blocked-in secondary colors and corrected boundaries.
Brush or airbrush: shadows, depending on the size and shape of the area.
Brush: restored midtones, highlights, faces, edges and textures.
Airbrush or brush: controlled transparent tints that unify the palette.
Brush: final corrections and the smallest focal details.
If masking is needed between stages, test it on cured paint first. Liquid masking fluid can protect irregular areas on compatible surfaces, while low-tack tape or stencils suit crisp geometric boundaries.
Fix common miniature painting problems
Visible brush marks
Check paint consistency, brush loading and coat thickness. Avoid working back into a layer as it starts to dry. Two or three controlled coats usually preserve more detail than one heavy coat.
Chalky highlights
The jump in value may be too large, the layer may be too dry, or too much paint may remain on a drybrush. Introduce an intermediate color and use lighter pressure.
Muddy color
Allow layers to dry and keep the palette and rinse water clean. Re-establish the midtone before continuing instead of mixing every correction directly on the model.
Weak contrast
Photograph the miniature under neutral light or briefly view it in grayscale. Deepen the most important shadows and brighten selected focal highlights rather than increasing contrast everywhere equally.
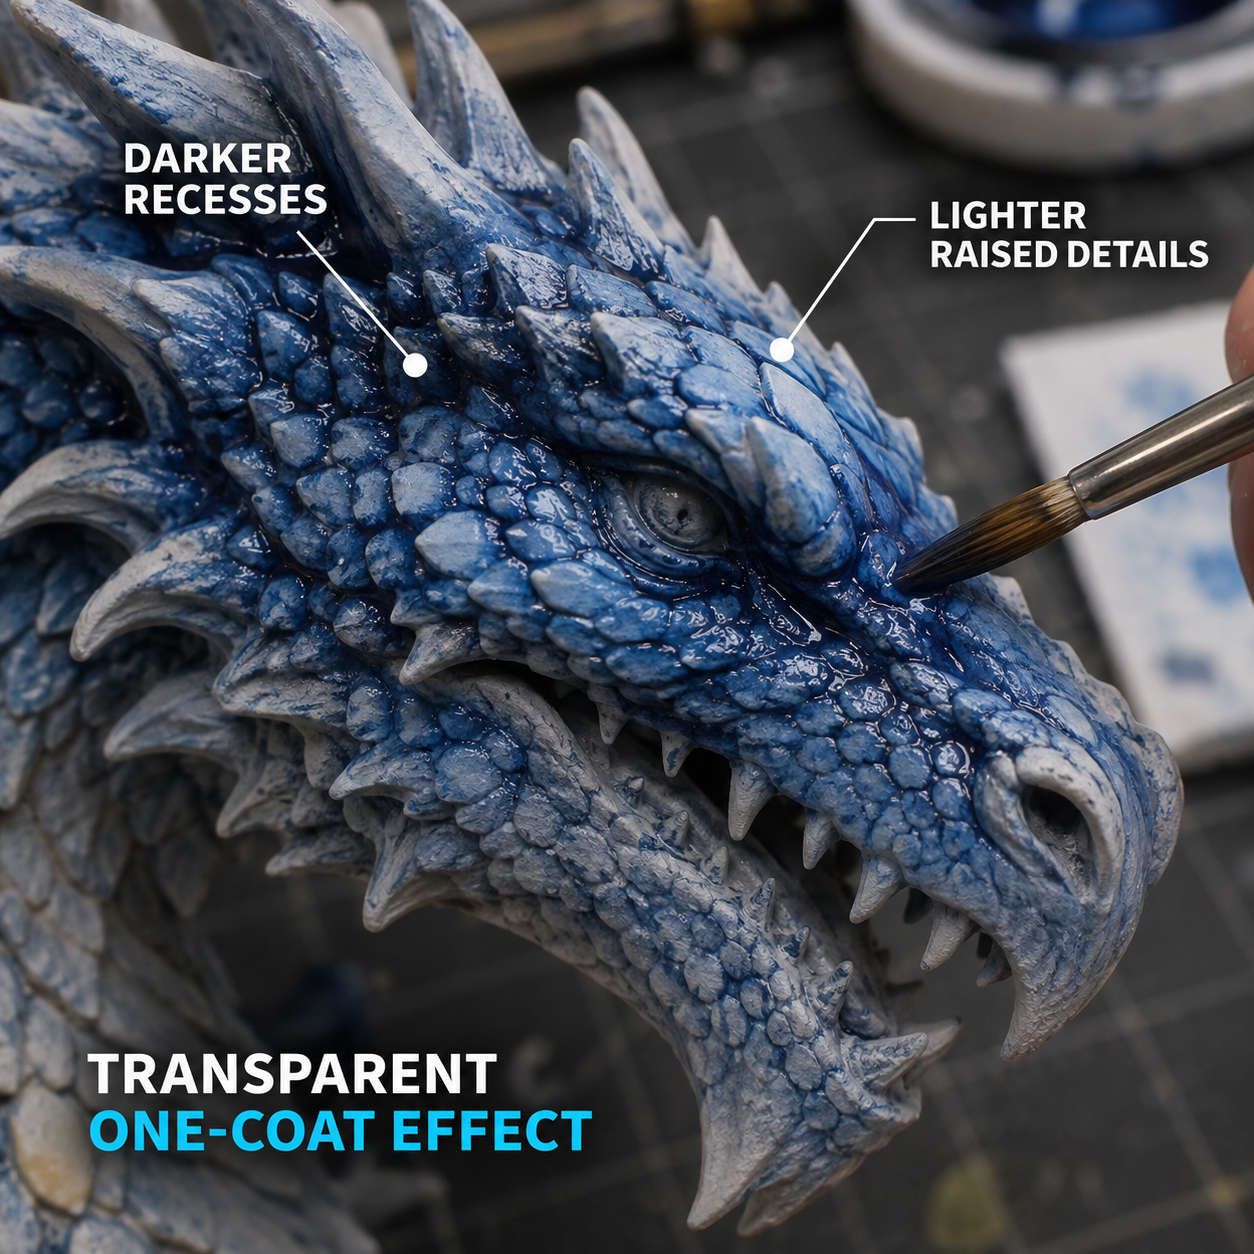
Contrast on raised details and recesses helps miniature features read clearly.
Finish and protect the paint
Inspect the model under the light in which it will be displayed. Correct stray marks, check the face and focal points, and allow the paint to cure fully. Apply a compatible finish from the acrylic varnishes and clear coats category in controlled coats. Matte reduces reflections, while gloss can deepen color and create a reflective surface; the best choice depends on the material you are representing.
Miniature painting checklist
Prepare the surface before opening the paint.
Protect detail with thin primer and color coats.
Use a stable hand position and rotate the miniature.
Define large forms before painting tiny details.
Let layers dry before glazing or correcting them.
Use brush and airbrush according to the job, not as competing methods.
Test products and follow their individual safety and curing directions.
Prepared by the POP ART product team for miniature and model painters in Egypt. Technique results vary with the surface, tools, paint system and working conditions.
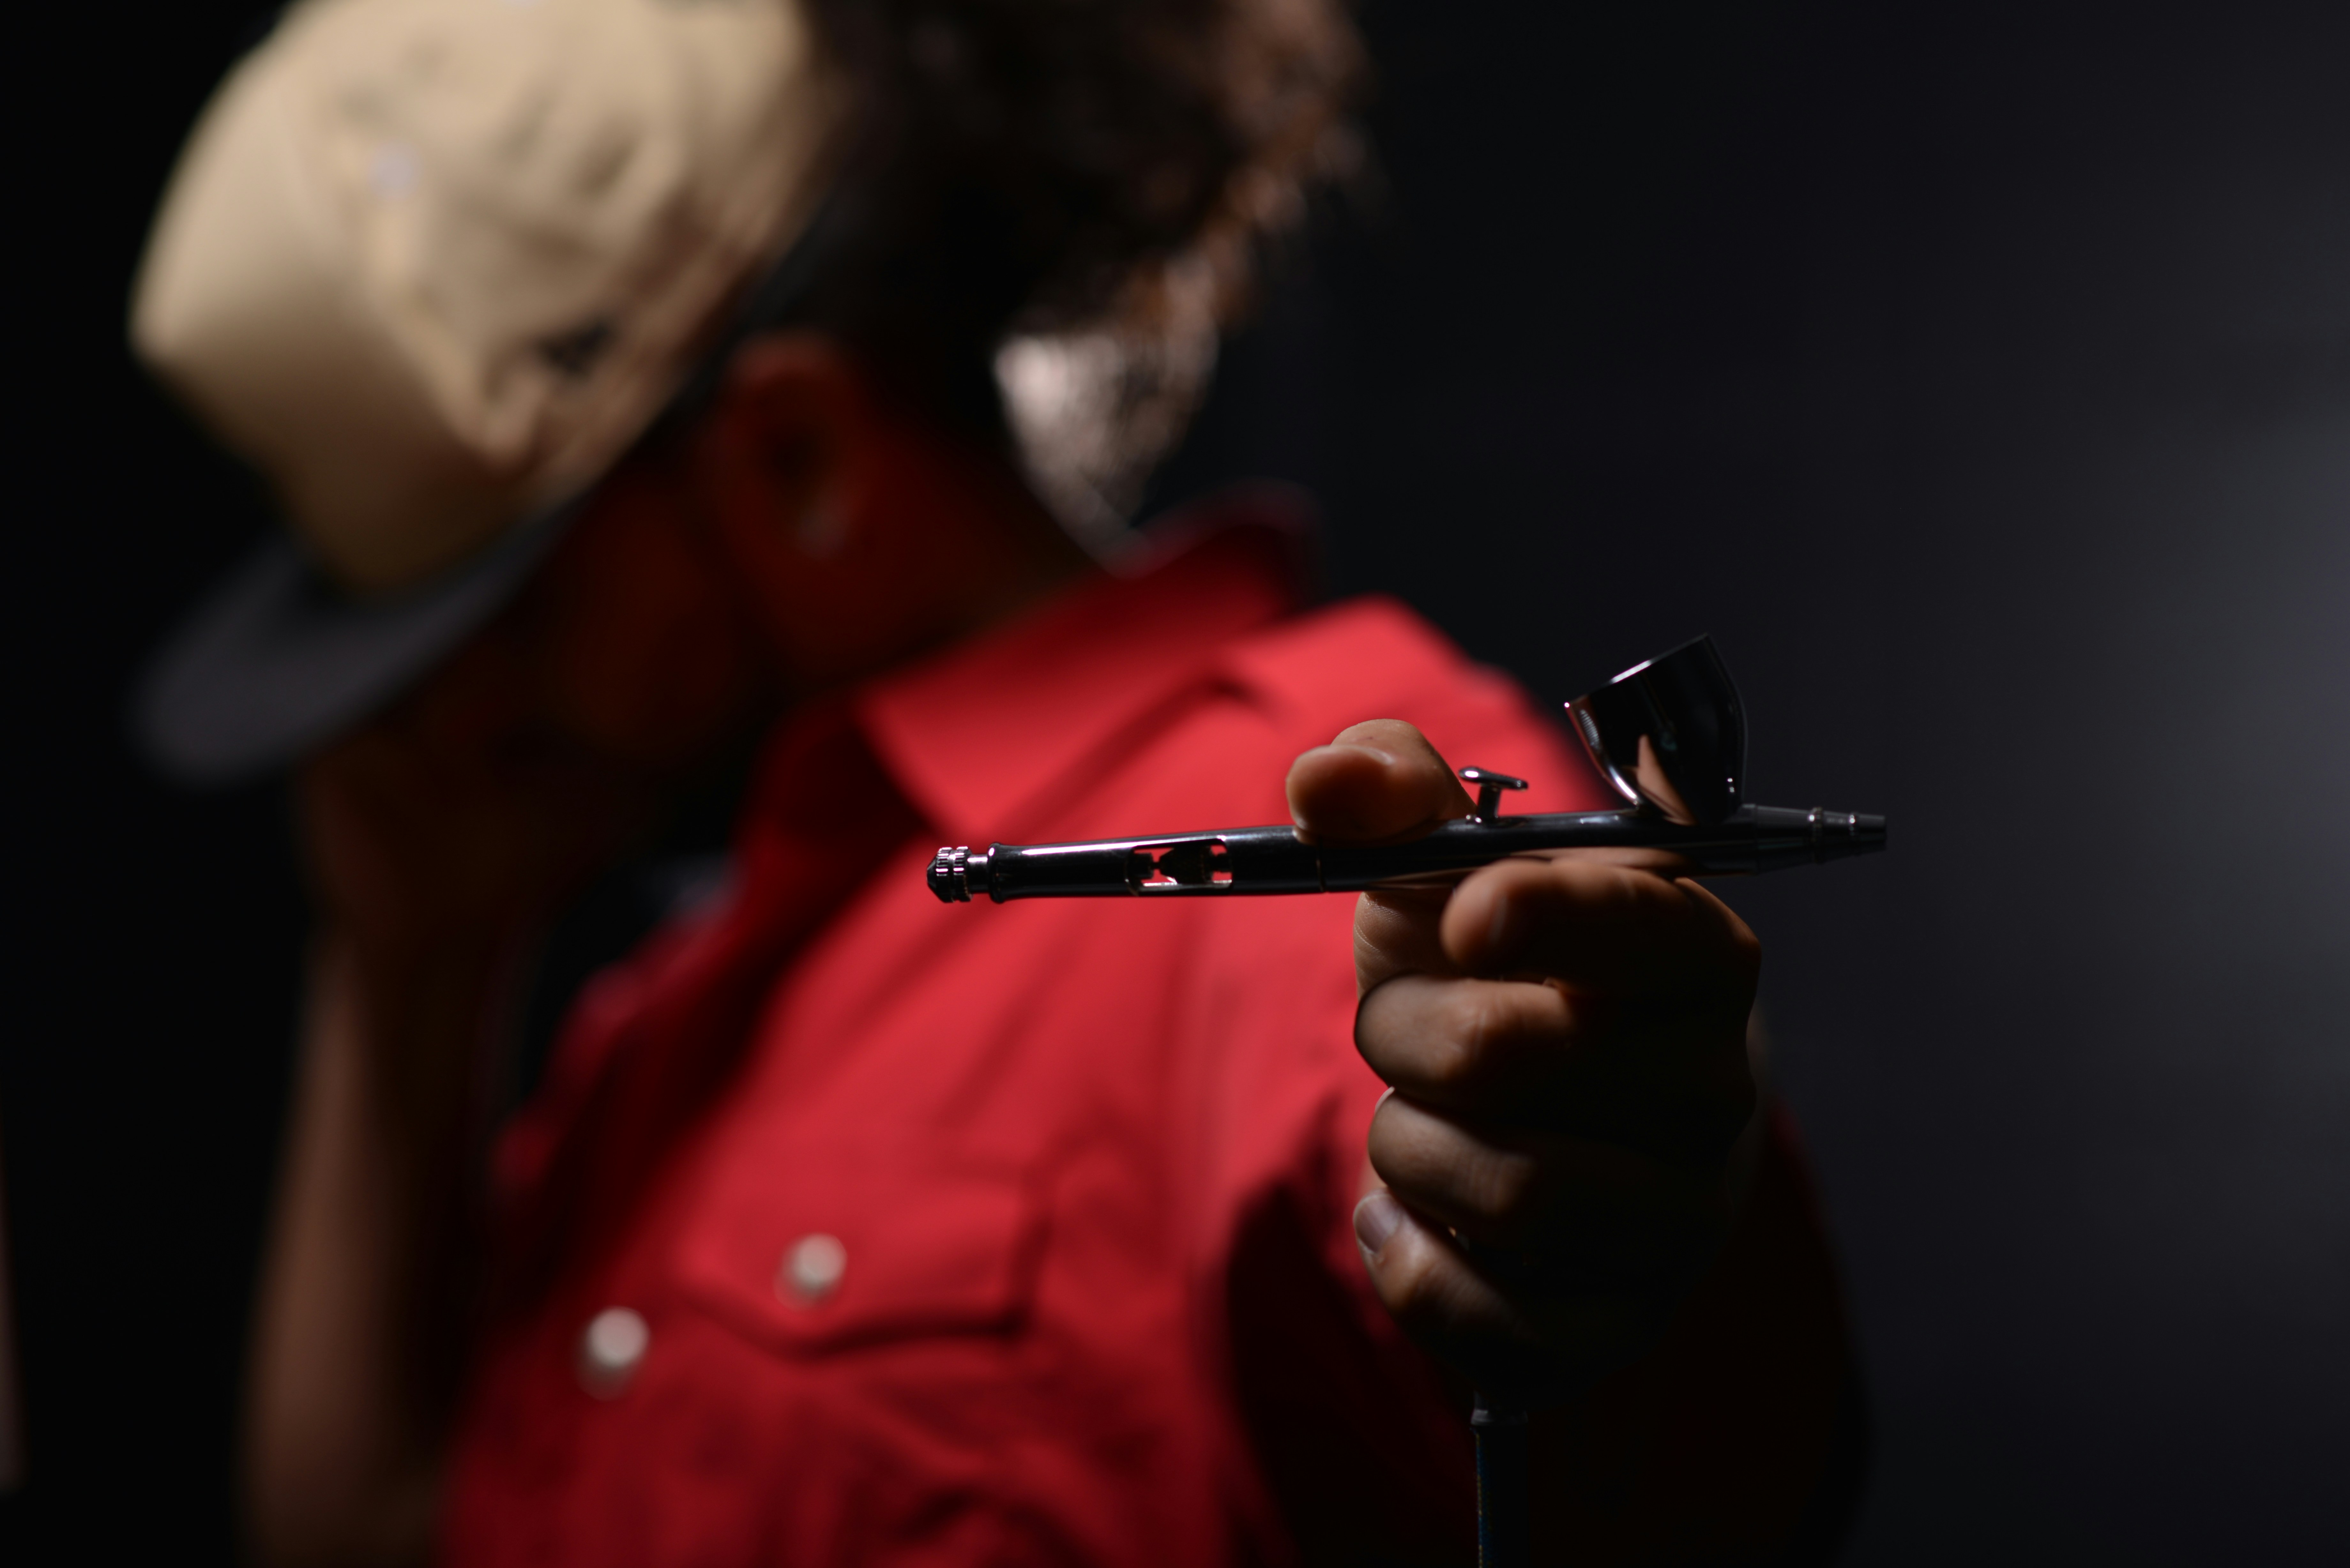
Airbrushing gives miniatures, scale models and painted 3D prints smooth base coats, soft shadows and controlled color transitions. The reliable way to learn is not to search for one perfect pressure or thinning ratio; it is to build a repeatable test-and-adjust workflow for your paint, airbrush, surface and room conditions.
Quick workflow: clean and prime the surface, mix the paint thoroughly, test the spray on a card, build color in light moving passes, then clean the airbrush before paint can dry inside it.
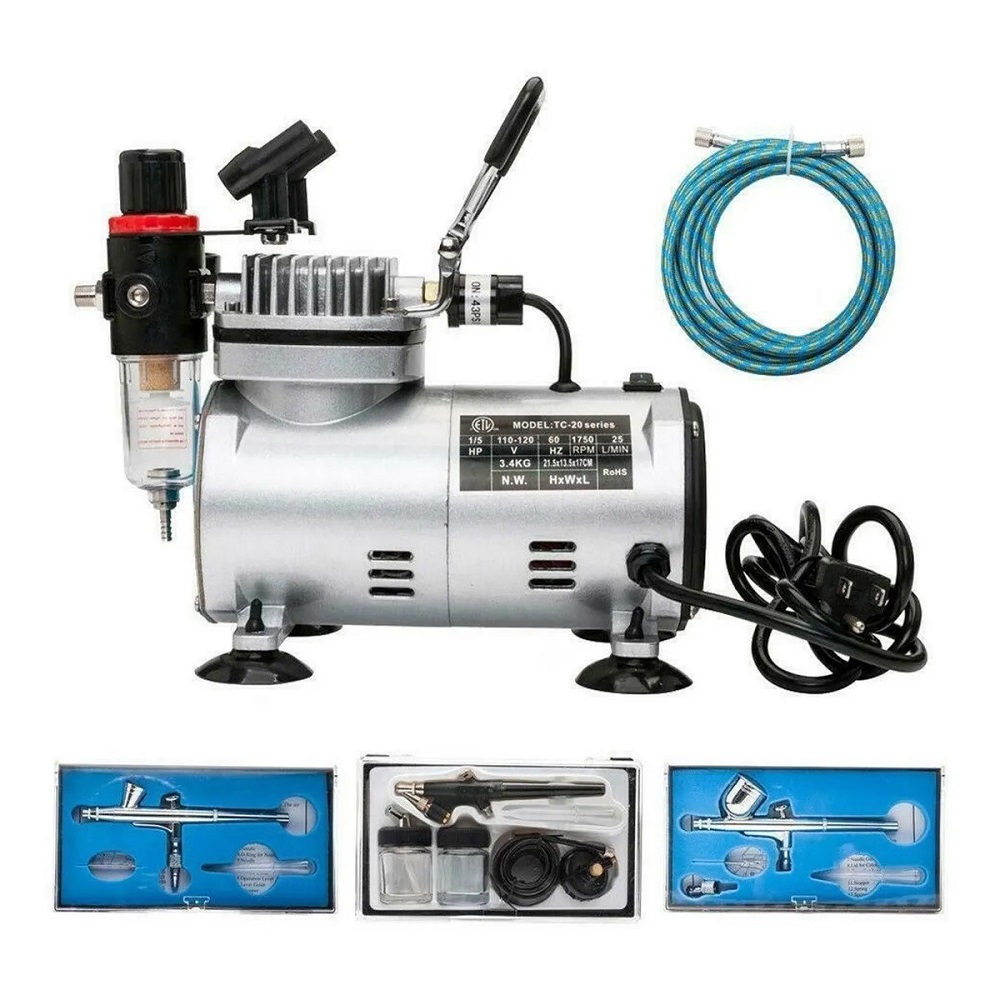
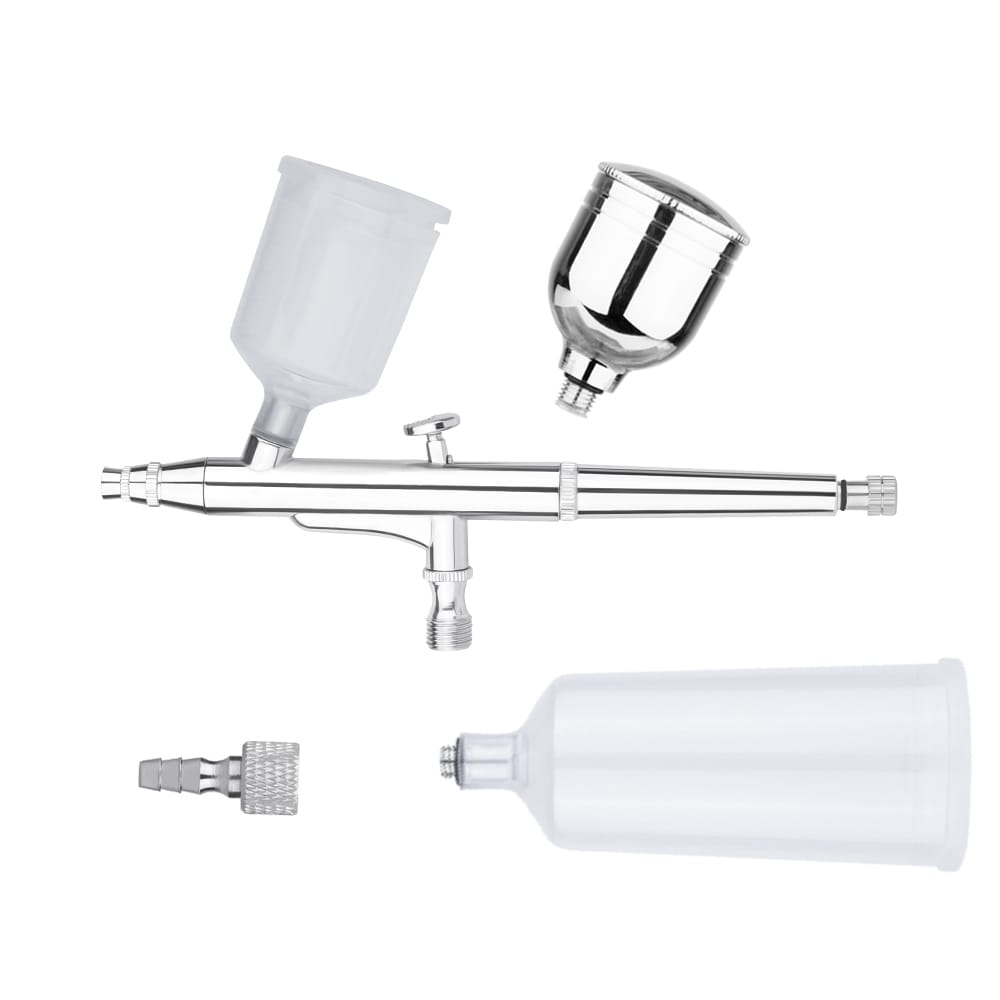
An airbrush, controllable compressor and a test surface form the starting setup.
Cleaner, soft cleaning tools, a test card and suitable masking materials.
Work with good ventilation and follow every product label. Use respiratory, eye and skin protection appropriate to the paint and cleaner you are spraying.
1. Prepare and prime the surface
Paint cannot compensate for dust, grease, release agent or an unsuitable surface. Clean the model according to the material manufacturer’s instructions, let it dry fully and handle it with clean hands. Remove visible seams or print supports before painting.
Apply a compatible coat from the primers range. A thin, even primer layer gives the color coat a consistent surface and makes imperfections easier to spot. Allow it to cure as directed before masking or adding paint.
2. Prepare the paint and make a test spray
Mix the paint thoroughly so pigment and medium are evenly distributed. If the product needs reduction, add a compatible thinner gradually. Paint behavior changes with pigment, nozzle size, pressure, temperature and humidity, so avoid assuming that one ratio will suit every color and setup.
Use a spare card, plastic spoon or test piece before spraying the model. Check three things:
Dots: the spray should start and stop predictably without large spatters.
Lines: paint should flow consistently as you move the airbrush.
Broad passes: the coat should look even, without graininess, flooding or runs.
Change one variable at a time—paint reduction, airflow, distance or paint flow—then test again. In warm or dry conditions, paint may dry at the needle tip more quickly, so inspect the tip and adjust the workflow rather than forcing more paint through a partial clog.
3. Control distance, movement and paint flow
Keep the airbrush moving before you introduce paint, overlap each pass slightly and release the paint before stopping the movement. This reduces dark start-and-stop marks. Spray more perpendicular to broad surfaces for even coverage; use deliberate angles only when creating shadows or directional highlights.
Closer distances make a smaller, wetter pattern and demand finer trigger control. Greater distances make a wider, drier pattern. Begin on the test card, find a stable distance, and build several light layers. A heavy wet pass can pool around details, produce runs and slow curing.
Use a clean airbrush and test its spray pattern before working on the model.
4. Build color in useful stages
Base coat
Apply a consistent midtone over the primed area. Do not try to make the first pass fully opaque. Let the surface become touch-dry between light coats according to the paint directions.
Shadows
Spray a darker related color from below or into recesses. Keep the effect subtle at first; it is easier to deepen a shadow than to remove an oversized one.
Highlights
Use a lighter tone from above to reinforce the direction of light. Narrow the spray pattern and reduce paint flow as the target area becomes smaller.
Tints and transitions
Transparent, controlled layers can connect neighboring tones. Test the mixture first and stop regularly to judge the dry color, which may differ from the wet appearance.
If you prefer coordinated groups of colors, compare our airbrush paint sets.
5. Diagnose common airbrush problems
Spatter or an interrupted spray
Pause and inspect for dried paint on the needle, thick paint, a partial clog, low or unstable airflow, or a loose connection. Clean only as directed by the airbrush manufacturer and retest before returning to the model.
Spidering or paint that races across the surface
The surface is receiving more wet paint than it can hold. Reduce paint flow, move faster, increase the distance slightly or review the balance between reduction and airflow.
A rough or powdery finish
Paint may be drying before it reaches the surface. Review distance, airflow, paint consistency and room conditions. Test each adjustment rather than changing everything at once.
Poor adhesion
Check surface preparation, primer compatibility, curing time and coat thickness. Do not mask over paint that has not cured fully.
6. Mask without damaging earlier layers
For hard edges, use a suitable low-tack tape or stencil and spray away from the edge where possible. For irregular shapes and protected highlights, liquid masking fluid can be useful on compatible surfaces. Always test the masking method first, especially on delicate paint, paper or resin.
7. Clean the airbrush promptly
Empty excess paint safely, rinse the cup with the cleaner recommended for that paint, and flush until the output is clear. Use products from the brush and airbrush cleaners range where compatible. Follow the airbrush maker’s instructions before removing the needle or nozzle; these parts are easy to bend or damage. Do not soak seals or use aggressive solvent unless the manufacturer explicitly permits it.
8. Protect the finished model
Let all paint cure fully before applying a clear finish. Choose an appropriate sheen from our acrylic varnishes and clear coats, test compatibility and build protection with controlled coats. Gloss can deepen color and support some finishing techniques, while matte reduces reflections.
Airbrush painting checklist
Clean, dry and prime the model.
Mix the paint and prepare the correct compatible thinner.
Test dots, lines and broad passes away from the project.
Change one setting at a time.
Build color with light, overlapping coats.
Allow proper drying and curing time.
Clean the airbrush immediately after the session.
Prepared by the POP ART product team for hobby painters in Egypt. Always follow the instructions supplied with your paint, airbrush, compressor and protective equipment.

 AR
AR  EN
EN