Contact: service@popartegypt.com
Welcome, Sign in or Create account
By Damian Charpentier
Many miniature, scale model, and diorama painters tend to return to the basics from time to time to ensure that they master their skills as creators. Brush basics are the most important part of an artist’s toolbox, aside from patience and kindness. Patience is an absolute, as we must learn to take time and slow our brush strokes while learning to control where our brush goes and how our brush responds to us. Kindness is another tool that is abstract but necessary, as we are our own harshest critics. We, as artists, need to learn to embrace mistakes and be open to using those mistakes or learning to start over again.
This article will be covering all brush basics for beginners and for advanced painters to come back to to practice and relearn, to improve on our abilities as artists, telling stories with our pieces.
This article will cover visual and descriptive references that will also be presented in video form, in time. We will be covering the following:
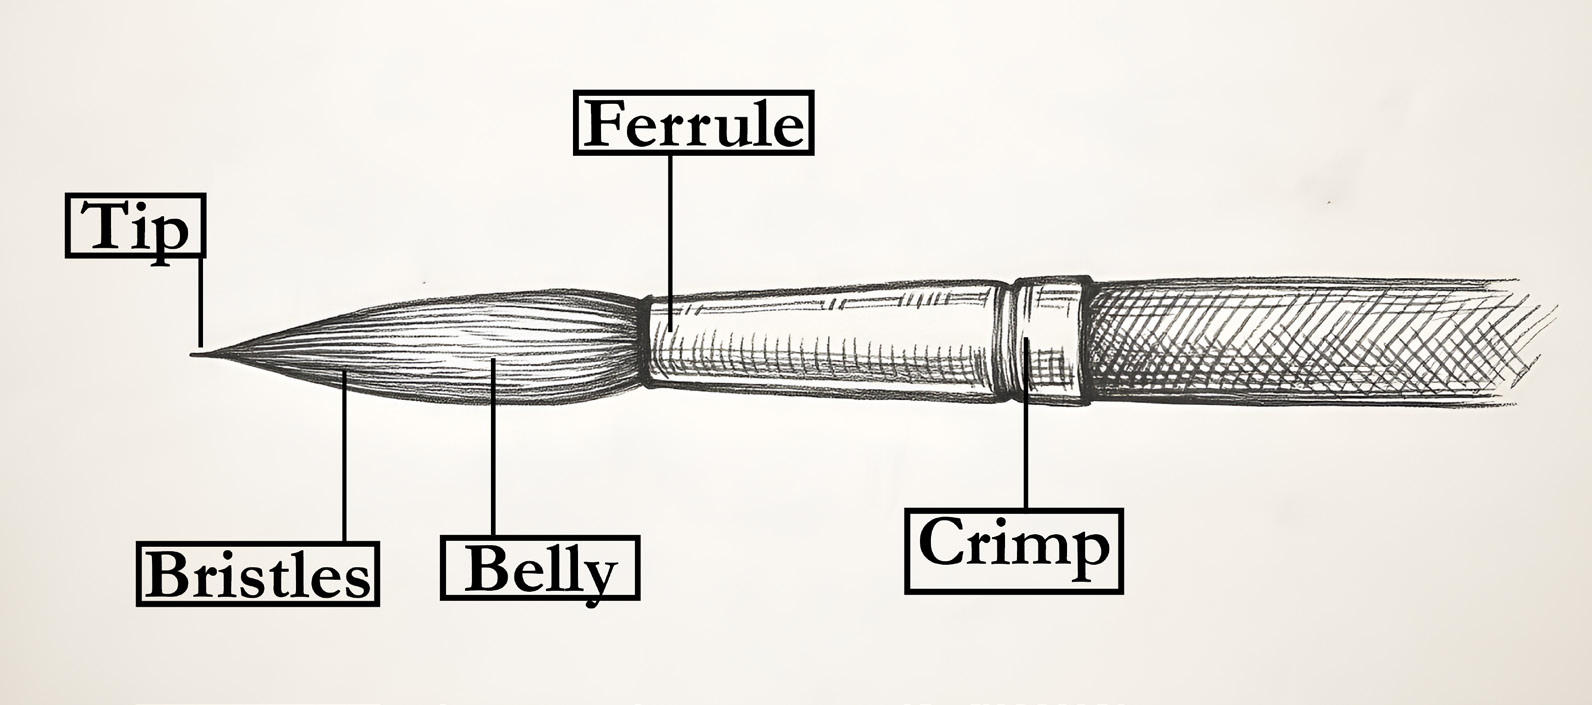
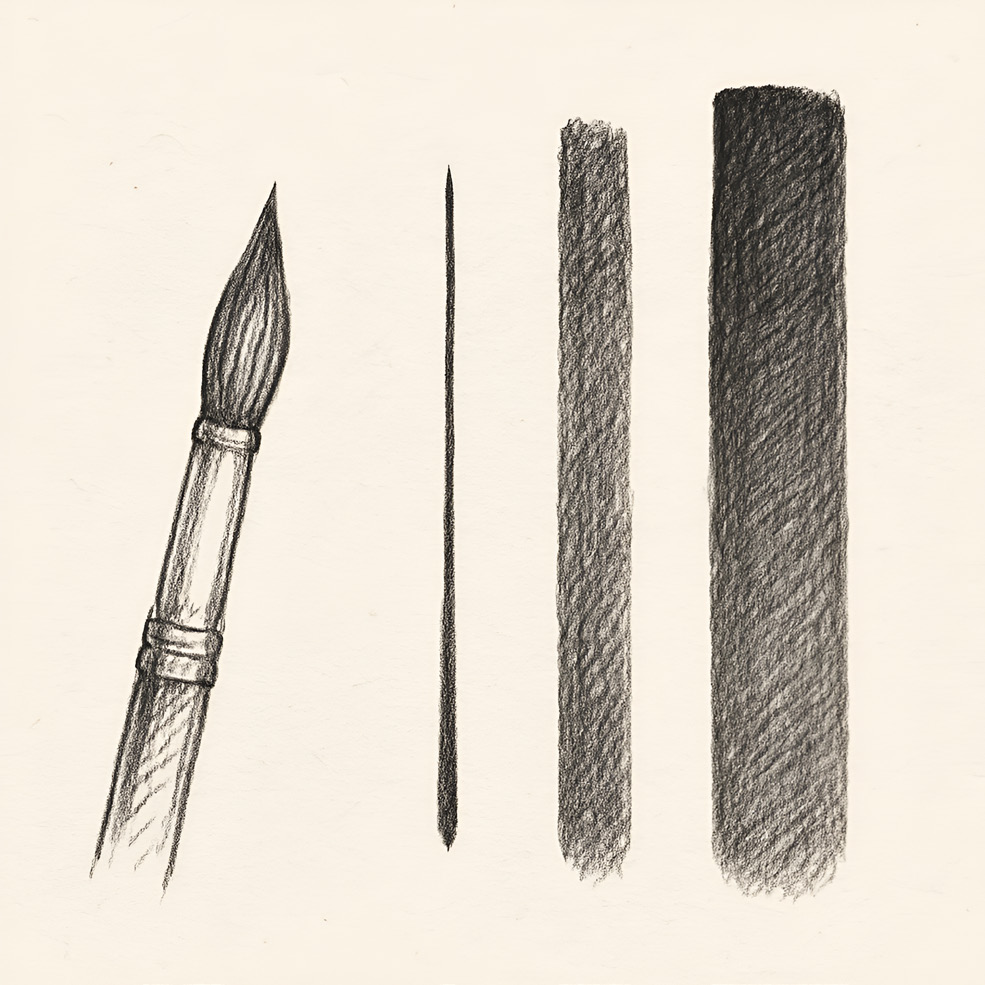
Tip: For precision and detail, this is the most important part to maintain and can be if taken care of. This part of your brush is one of the most key reasons to learning brush control aside from brush care.
Belly: This holds the paint and is the reason why your brush does not have to be small to create fine details, but it must make a fine point to work in small details. The belly is important for holding your reservoir of paint, so the bigger the brush’s belly, the longer you can paint without needing to return to your palette or paint pot.
Bristles: These need to be cared for in order to maintain a brush’s point or tip and to maintain its belly. This can be done through careful brush care tips that we will discuss, as well as the pros and cons of using natural hair vs. synthetic hair brushes.
Ferrule & Crimp: Importance of stability and avoiding water damage. The crimp ensures durability for the brush and keeps your bristles and the handle together. The ferrule is where your bristles converge at the crimp and stay in place. This area is crucial to maintain and avoid damaging, yet more importantly, you need to ensure that as you paint, no paint reaches that area. If paint manages to get into the ferrule, it will be difficult to clean and can tamper with your color palette as you paint with alternate colors. This can change your color choices.
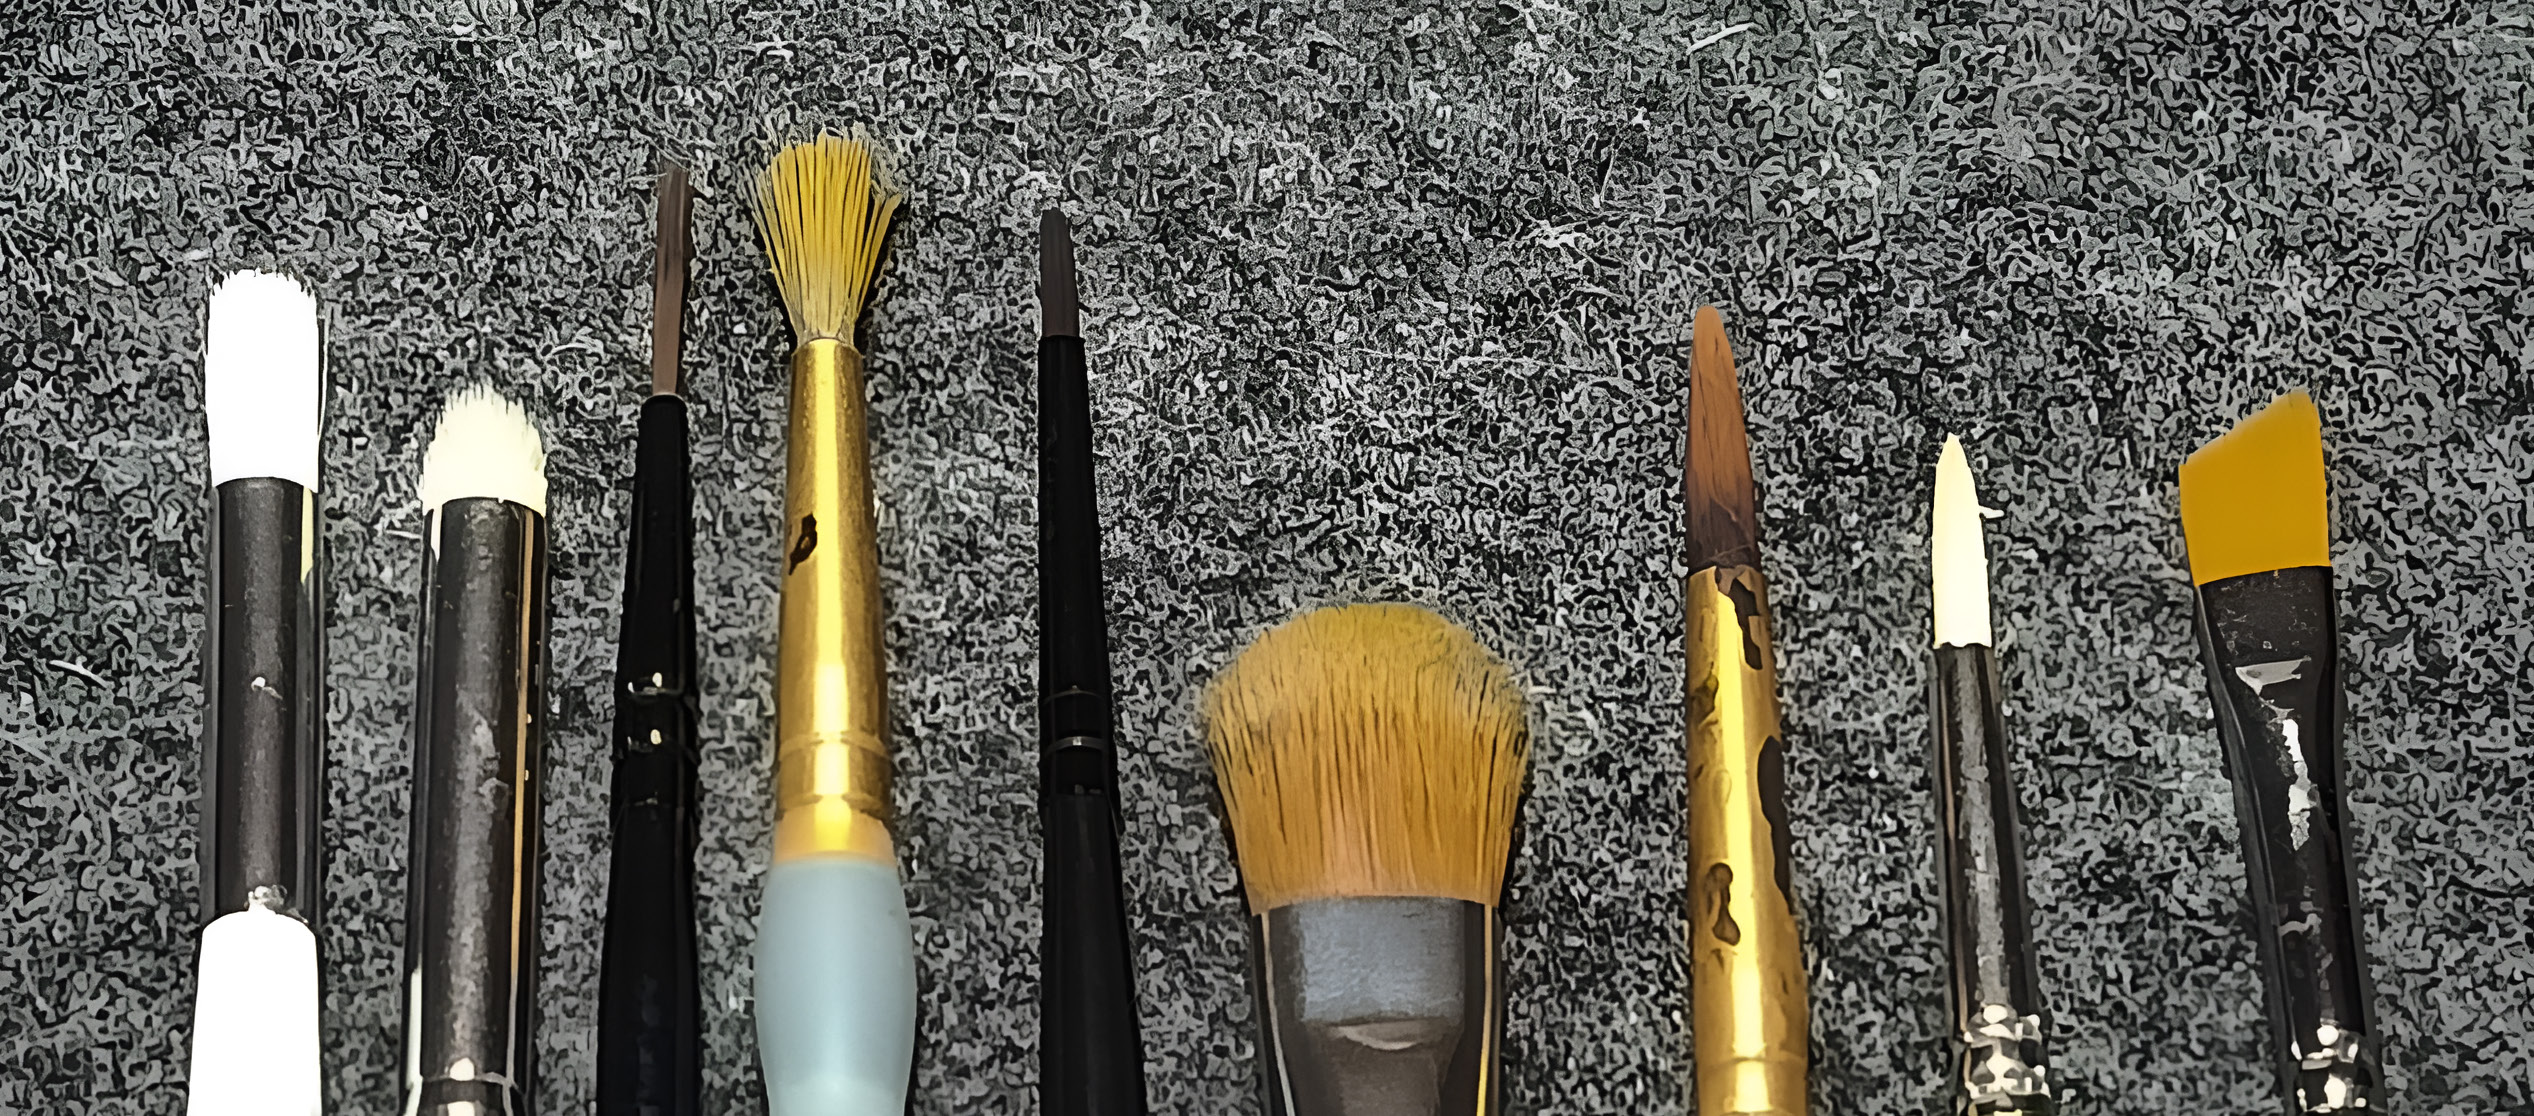
Brushes also have a system of measurements and a variety of styles. Many of those styles are more useful in miniature or scale model painting than others. In my opinion, any brush can be used if the artist discovers a useful technique with those brushes; therefore, I will not comment on what brushes I feel are not useful for miniature painting.
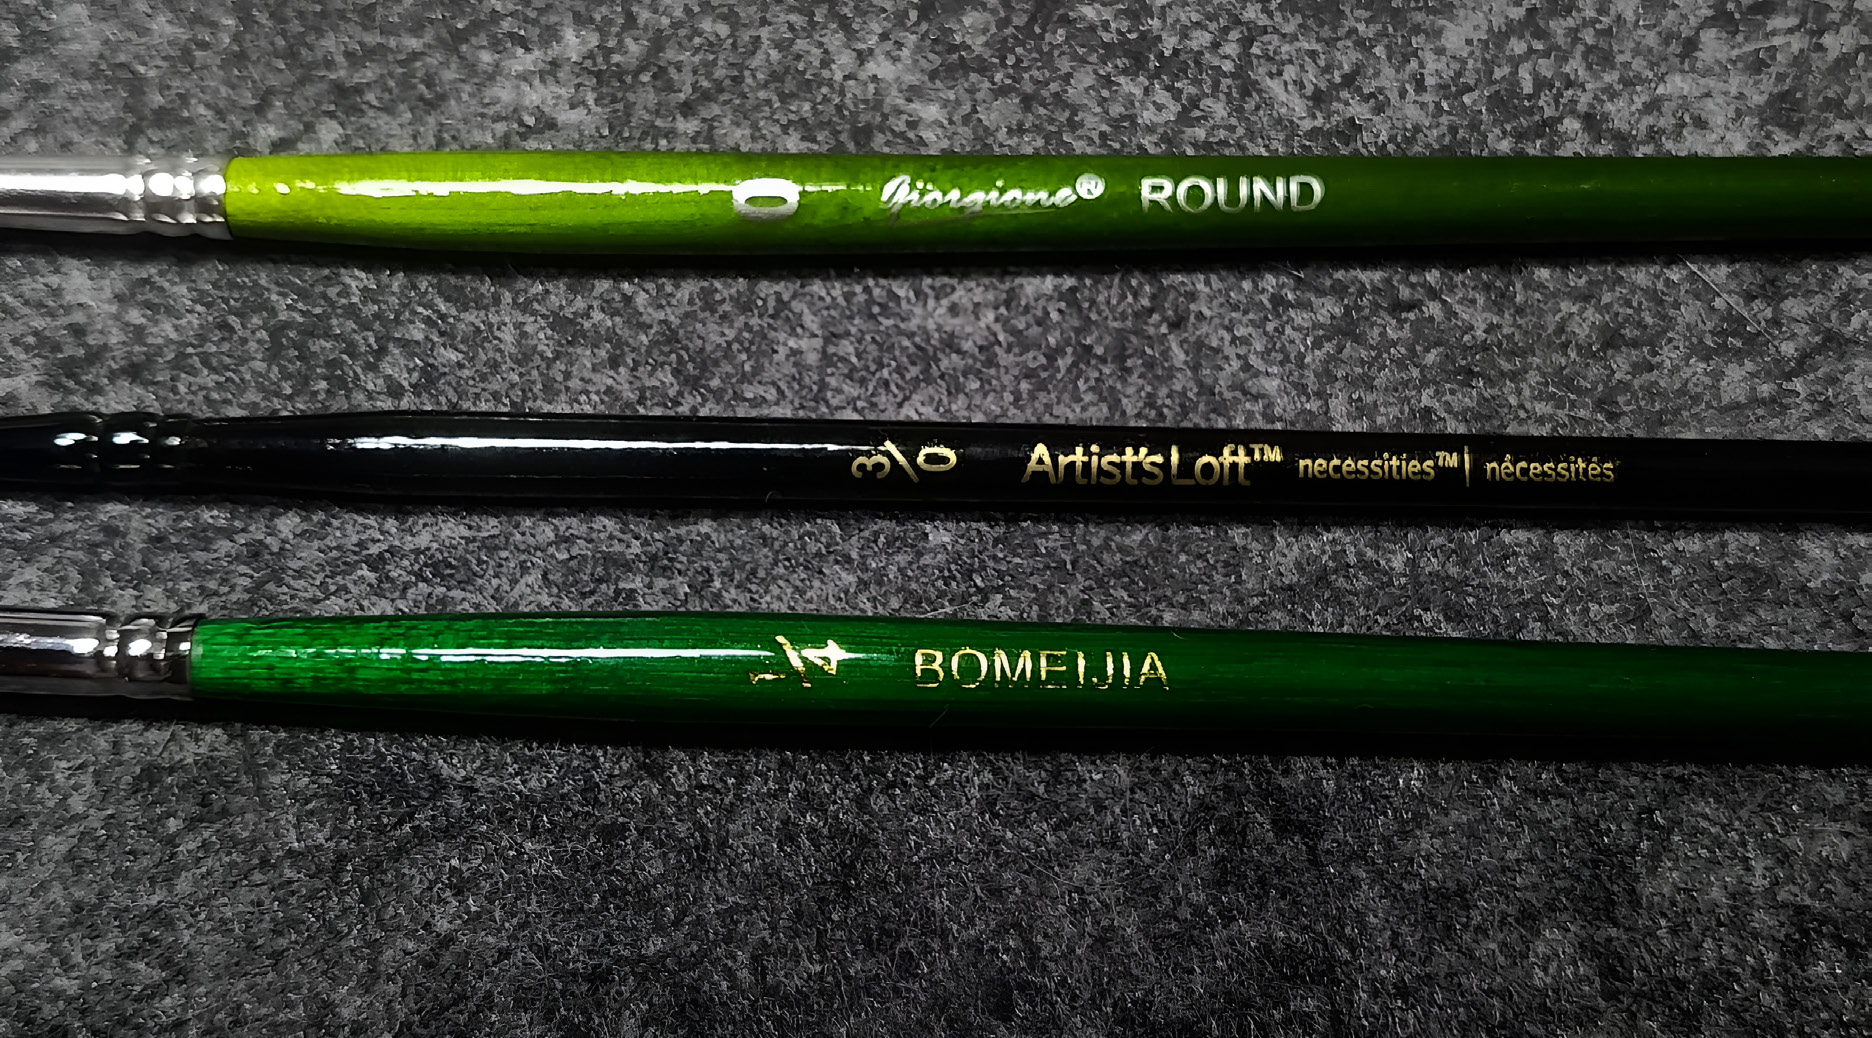
Remember, different brush companies and buying packs of multiple brushes of one size can yield slight differences between each brush. It is good to keep a record of those details for future reference when replacing brushes. This is particularly true for synthetic brushes, more so than natural as those are mass-produced by machinery rather than by hand.
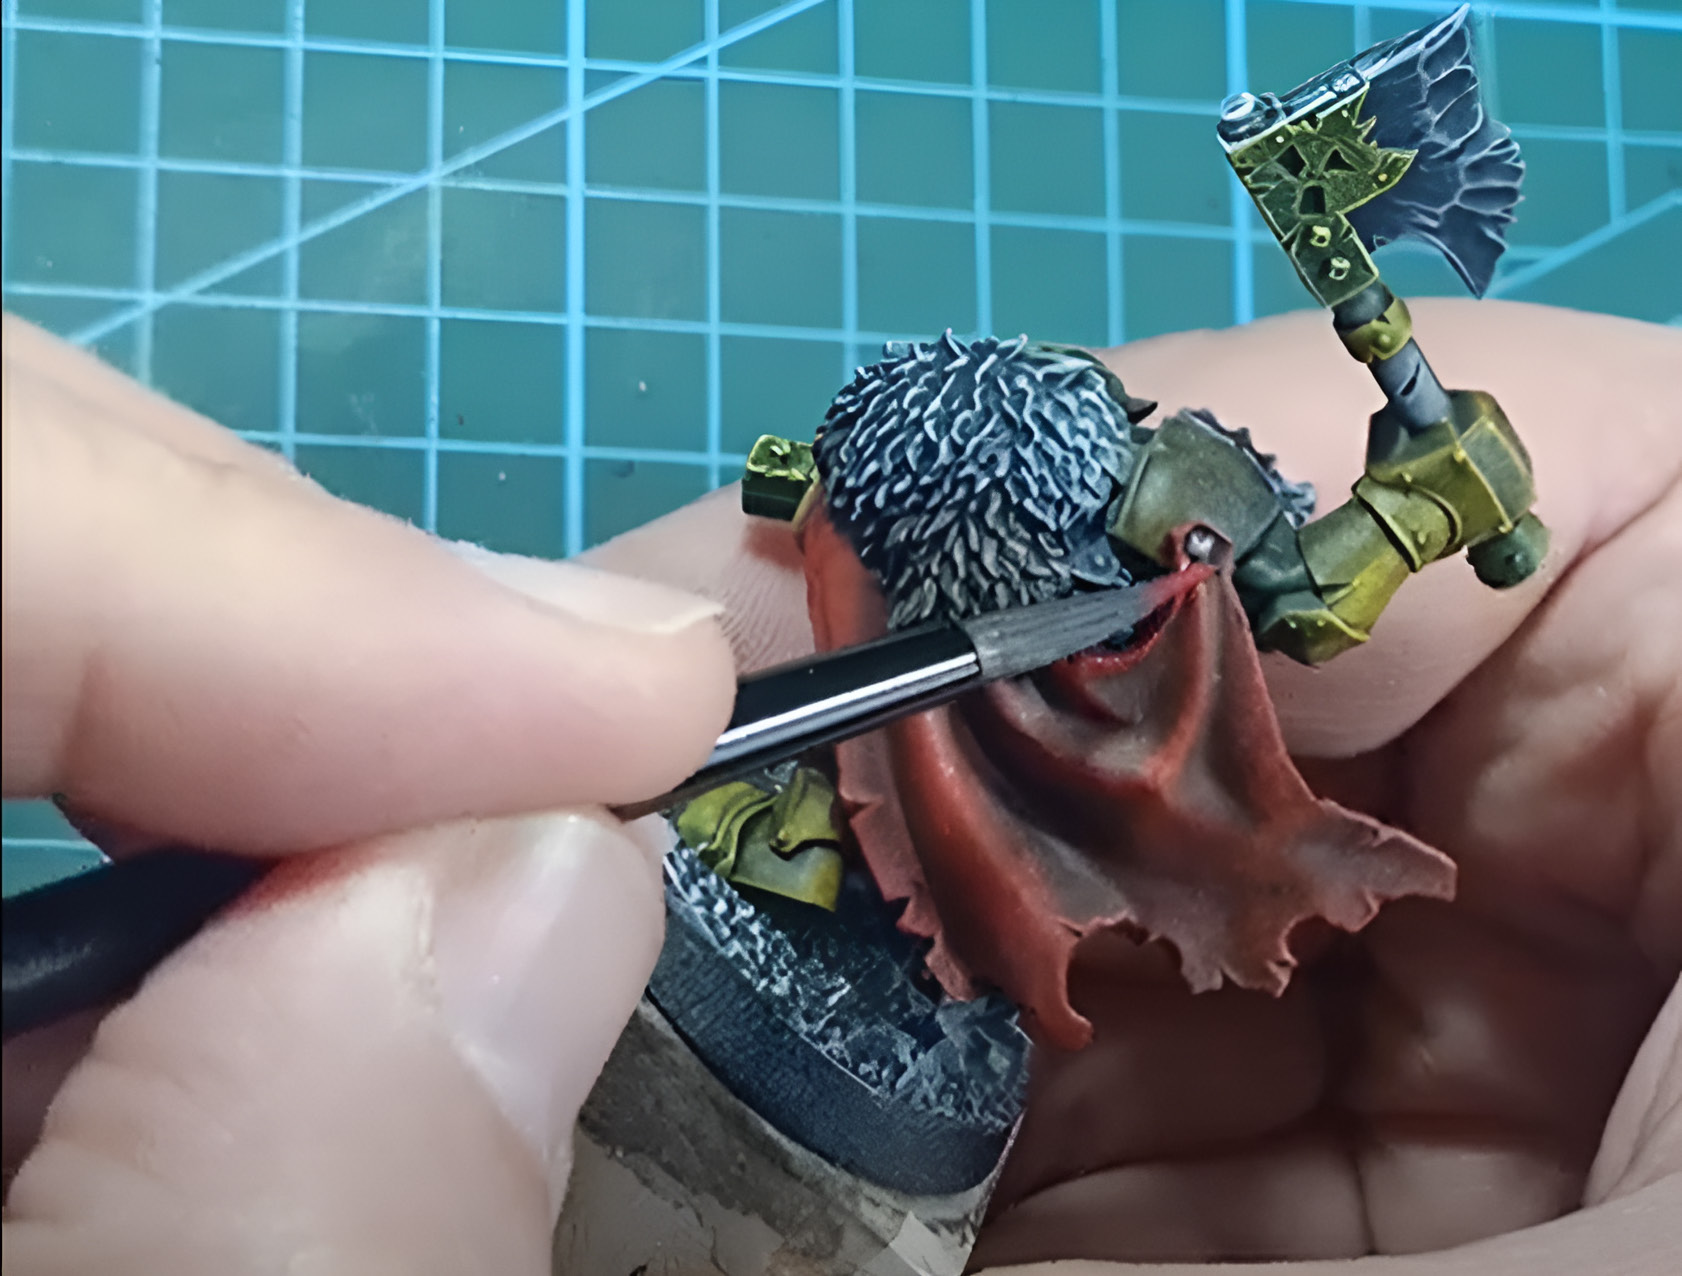
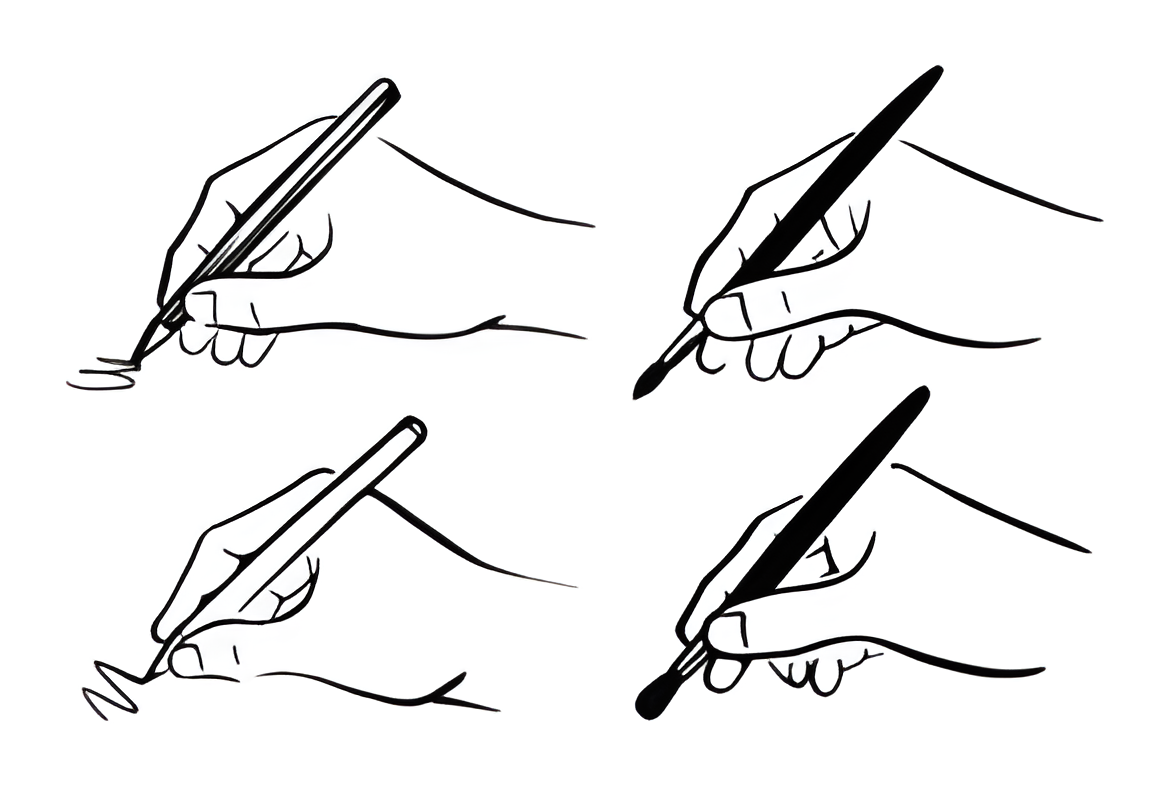
Soft firm grip: You want your movements not to be fast strokes, which are what many instinctively do,
but long, smooth, determined strokes.
 Practice different angles to understand where your brush is and the space it takes up.
Some will paint on an angle, but this can make the brush touch other areas of your model without your knowledge until it is too late.
Many painters become hyper-focused on the areas they are painting.
Practice different angles to understand where your brush is and the space it takes up.
Some will paint on an angle, but this can make the brush touch other areas of your model without your knowledge until it is too late.
Many painters become hyper-focused on the areas they are painting.
Becoming accustomed to pressure control (light vs. heavy) is key to ensuring the best quality of work you can produce. The only times your heavy pressured strokes will yield excellent results are when you are brush priming your model or base coating. A medium to light pressure will be used more often, especially when dealing with smaller details or other painting techniques (feathering or wet-blending).
These can be practiced by learning to draw straight lines of different thicknesses. This will not only teach you how much pressure your brush reacts to but also how to use it on an angle to produce thin to thick lines when painting large surfaces or attempting freehand designs, numbers, or letters.
Dealing with excess paint from your brush and having the right mixture of thinned paint. As you check your brush, have your wet palette with you and a rag to help remove excess moisture in your brush, so that your paint flows from the brush as desired.
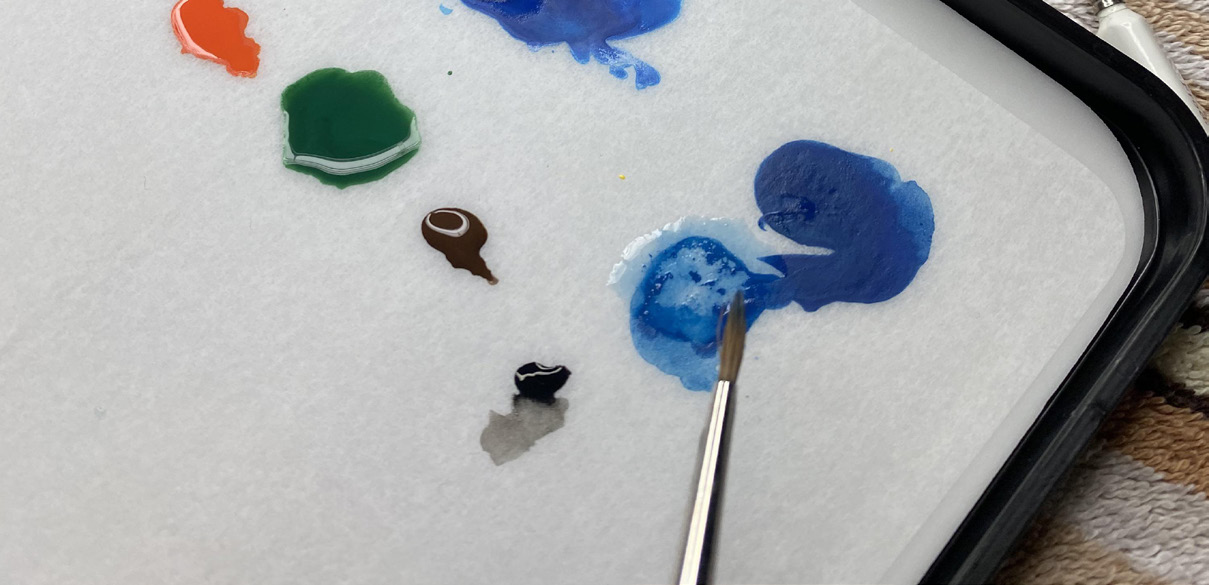
Avoid overloading — less is more. If your brush runs out of paint or dries up, it is easier to go back to your palette than to attempt to clean up the overflow onto other areas.
Use water or Pop Art’s Glaze medium — even the Pop Art airbrush thinner works well. Water is fine, but the medium and thinners that Pop Art produces keep surface tension, so you have better coverage.
In our next tutorial: We cover mastering other painting techniques, painting drills, and brush care.